2Checkout is a payment integration available for eCom stores based in Europe and North America. It accepts payments from many countries. They approve high-risk businesses that may not be approved by other payment providers.
This integration redirects your customers after checkout to a 2Checkout payment form. When payment is successful, they are redirected back to your eCom store's thank you page. Read Redirecting customers after checkout for more information.
- Visit 2Checkout.com and register.
- Login to your 2Checkout account.
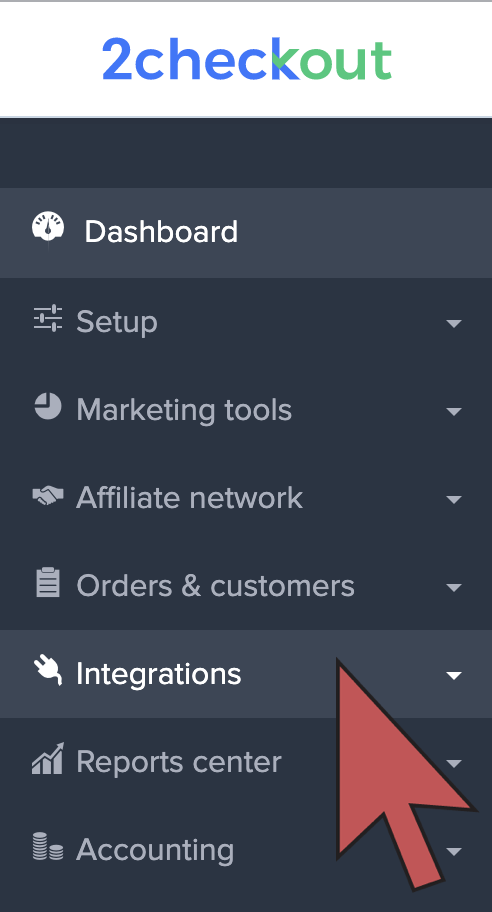
- Select Integrations.
- In the API section, copy the Merchant code and record it for later use.
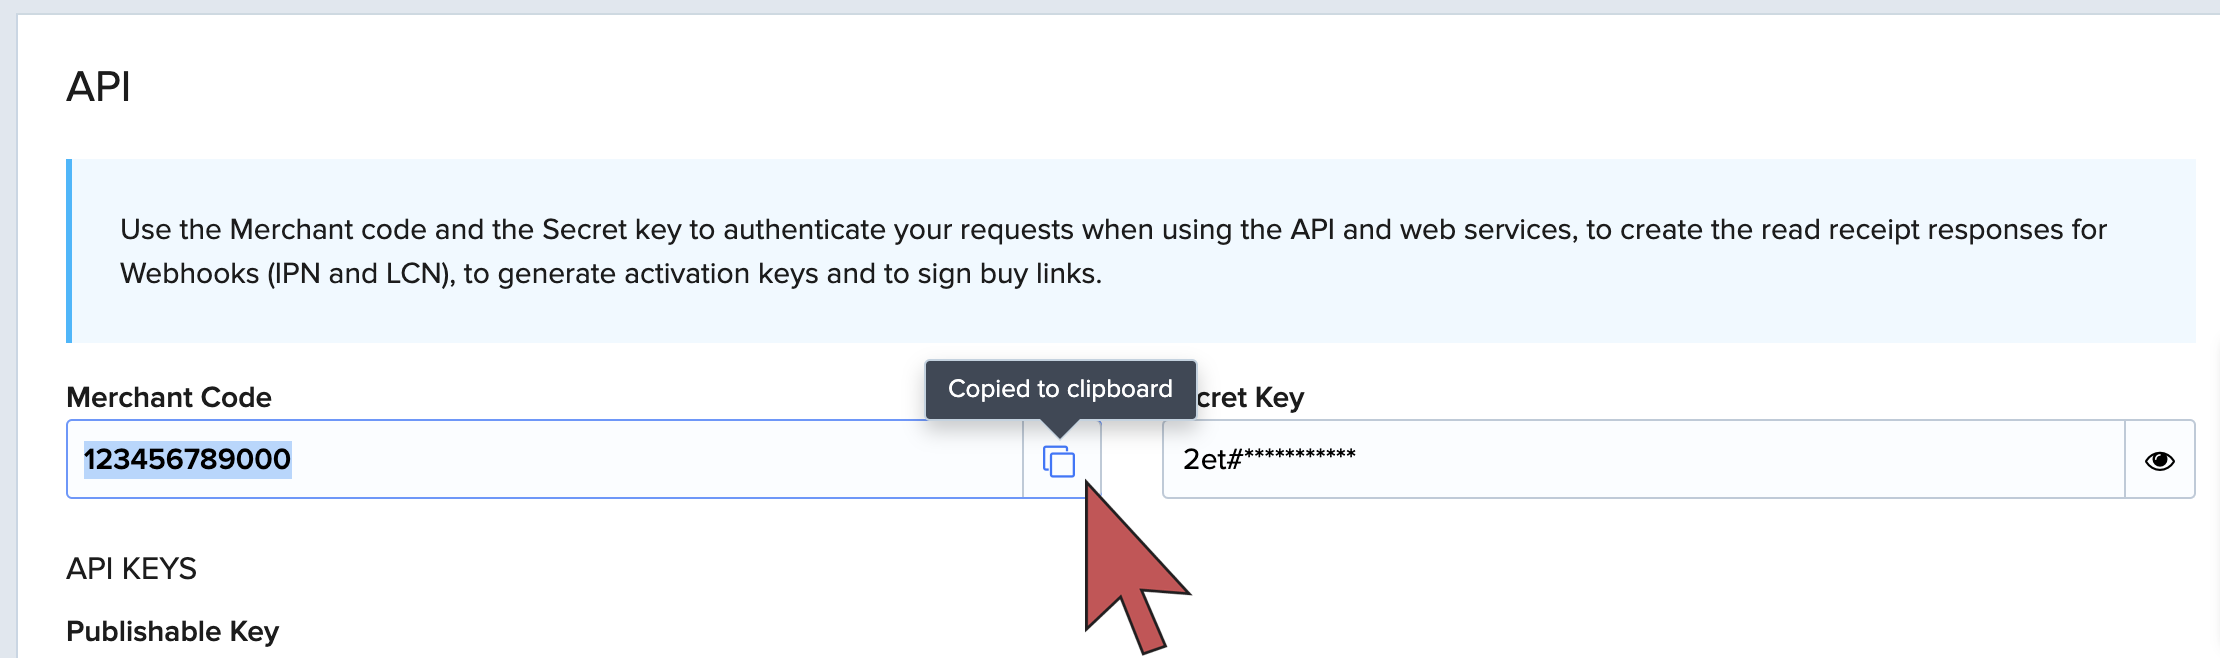
- In the Secret word section, Generate an Instant Notification Service (INS) secret word and record it for later use.

- In the Redirect URL section, ensure that enable return after sale is checked.
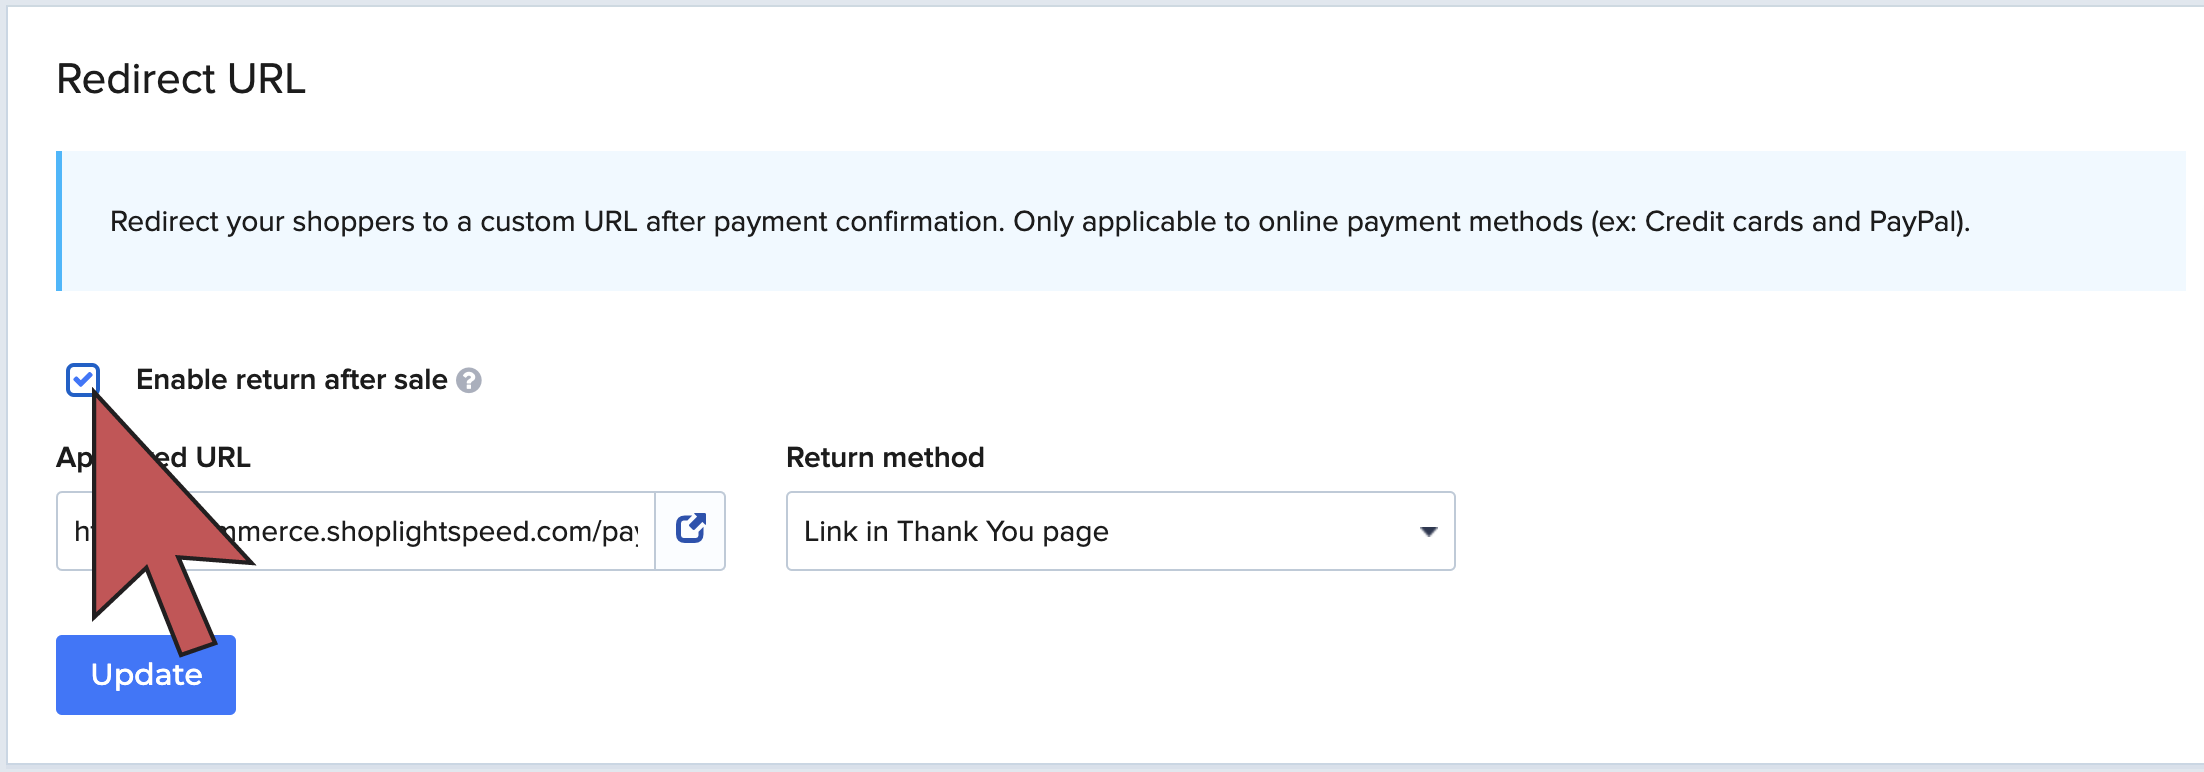
- In the the Approved URL field, enter:
https://[www.yourdomain.com]/payment/2Checkout/success. Replace:[www.yourdomain.com]with the web address of your eCom store without brackets. For Return method, select Link in Thank You page and then Update.

- Login to your eCom admin and go to Settings.
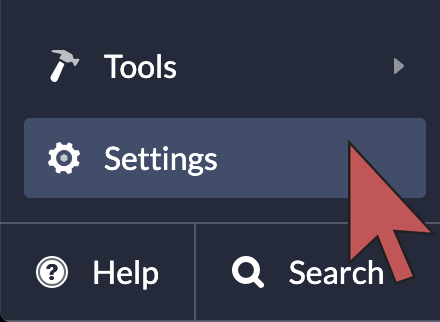
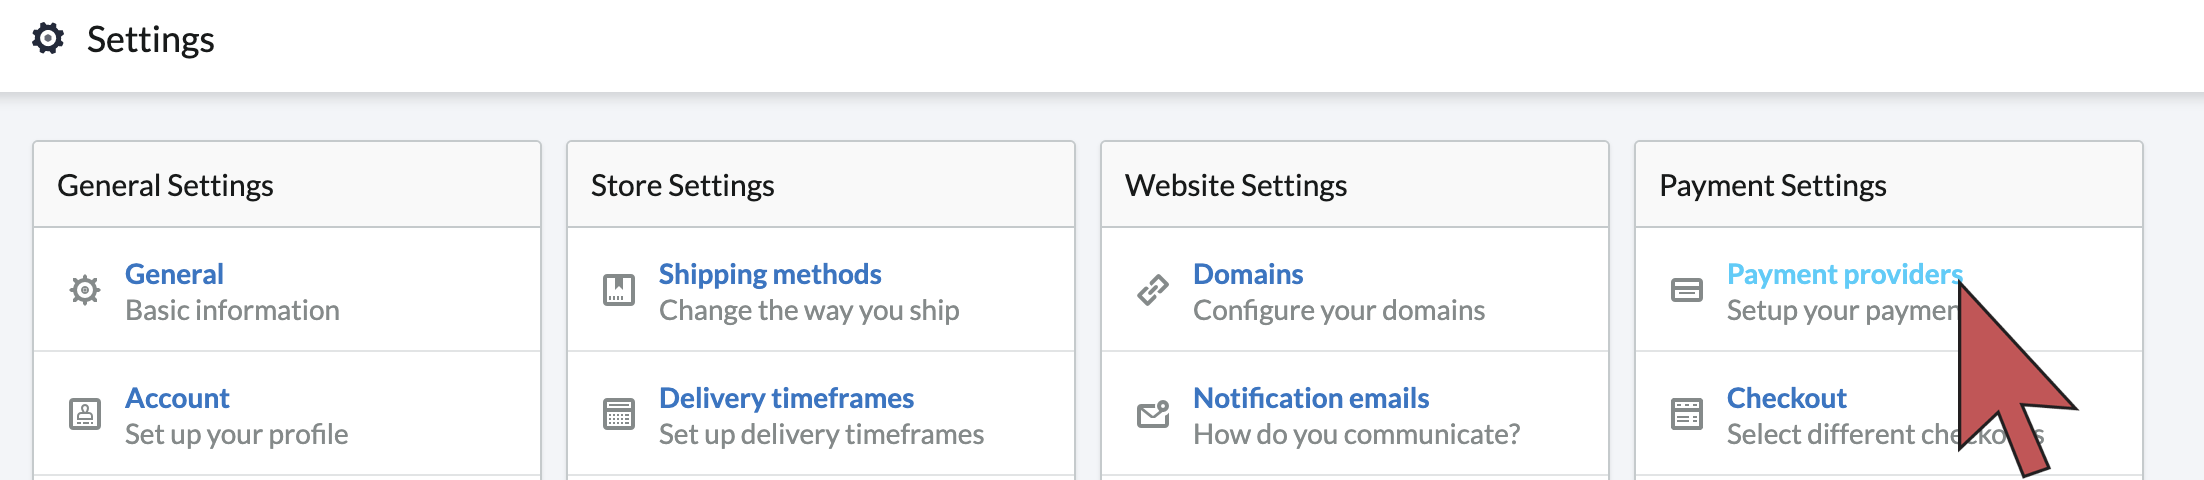
- Under Payment Settings, select Payment providers.
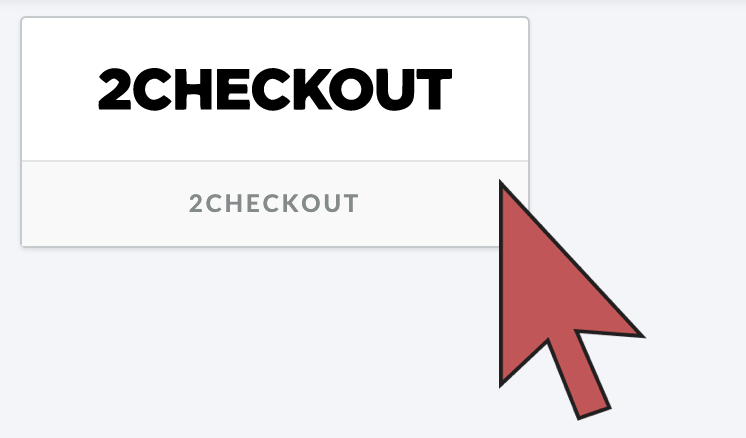
- Select 2Checkout. If 2Checkout isn't visible, select Add Payment Provider > Add.
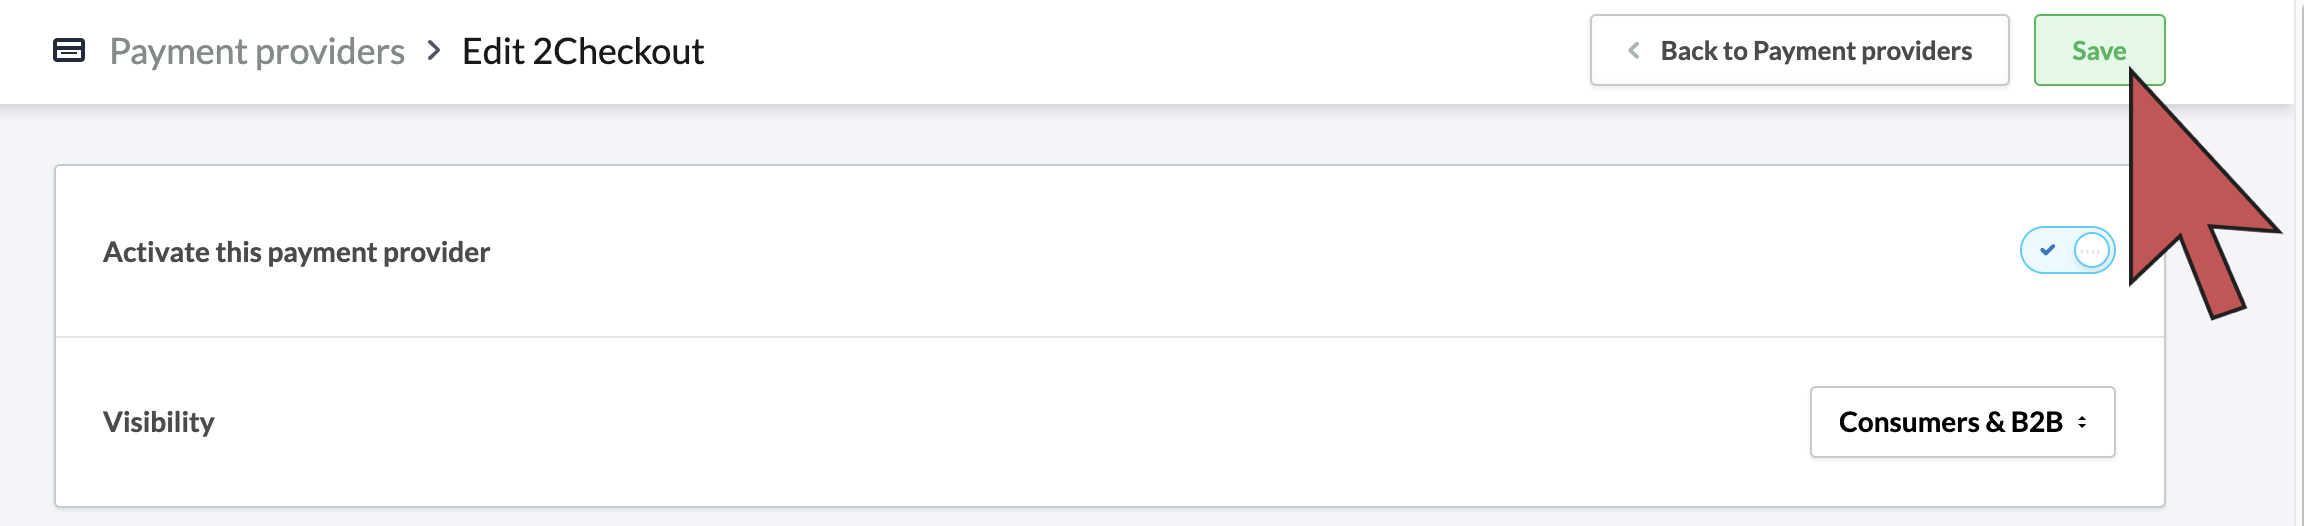
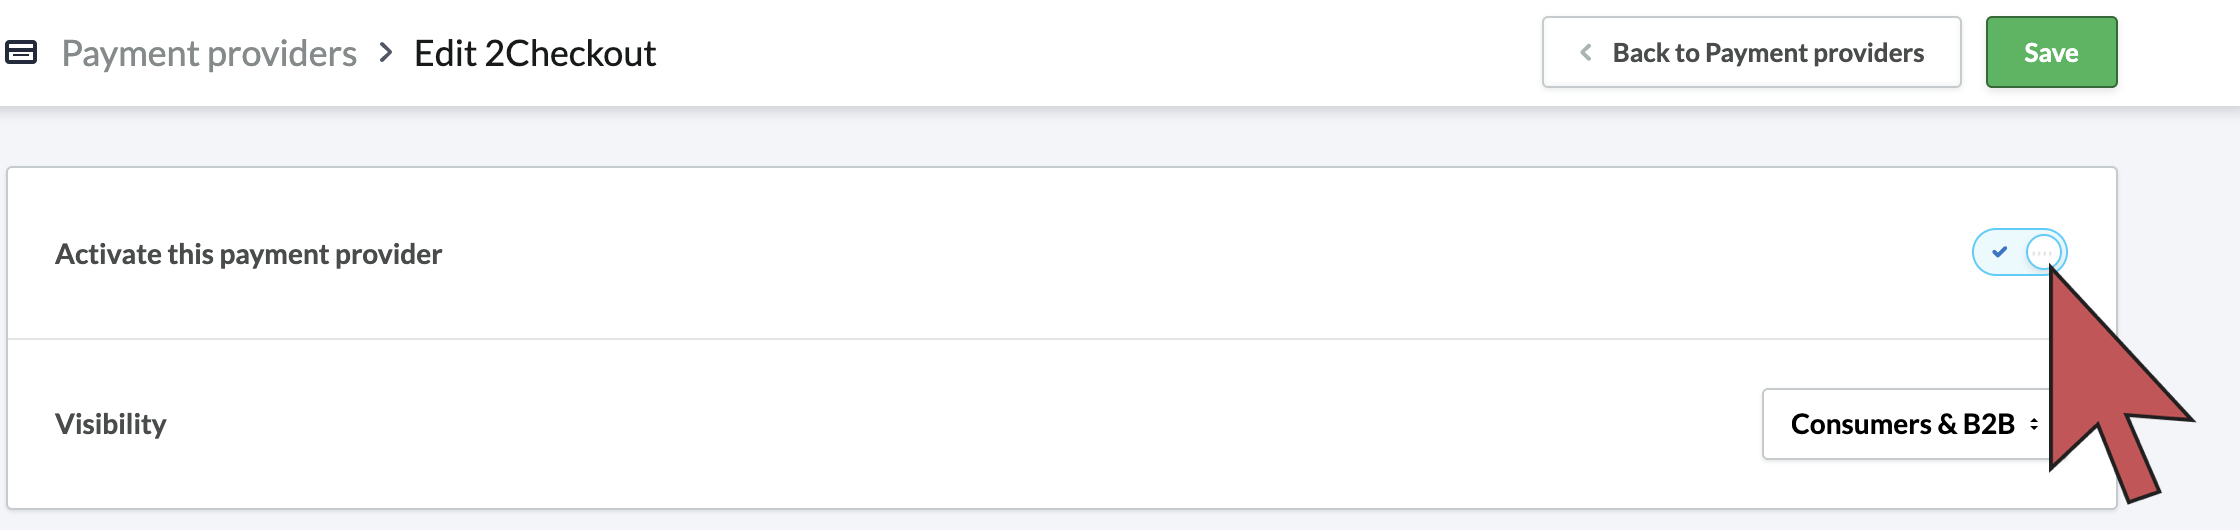
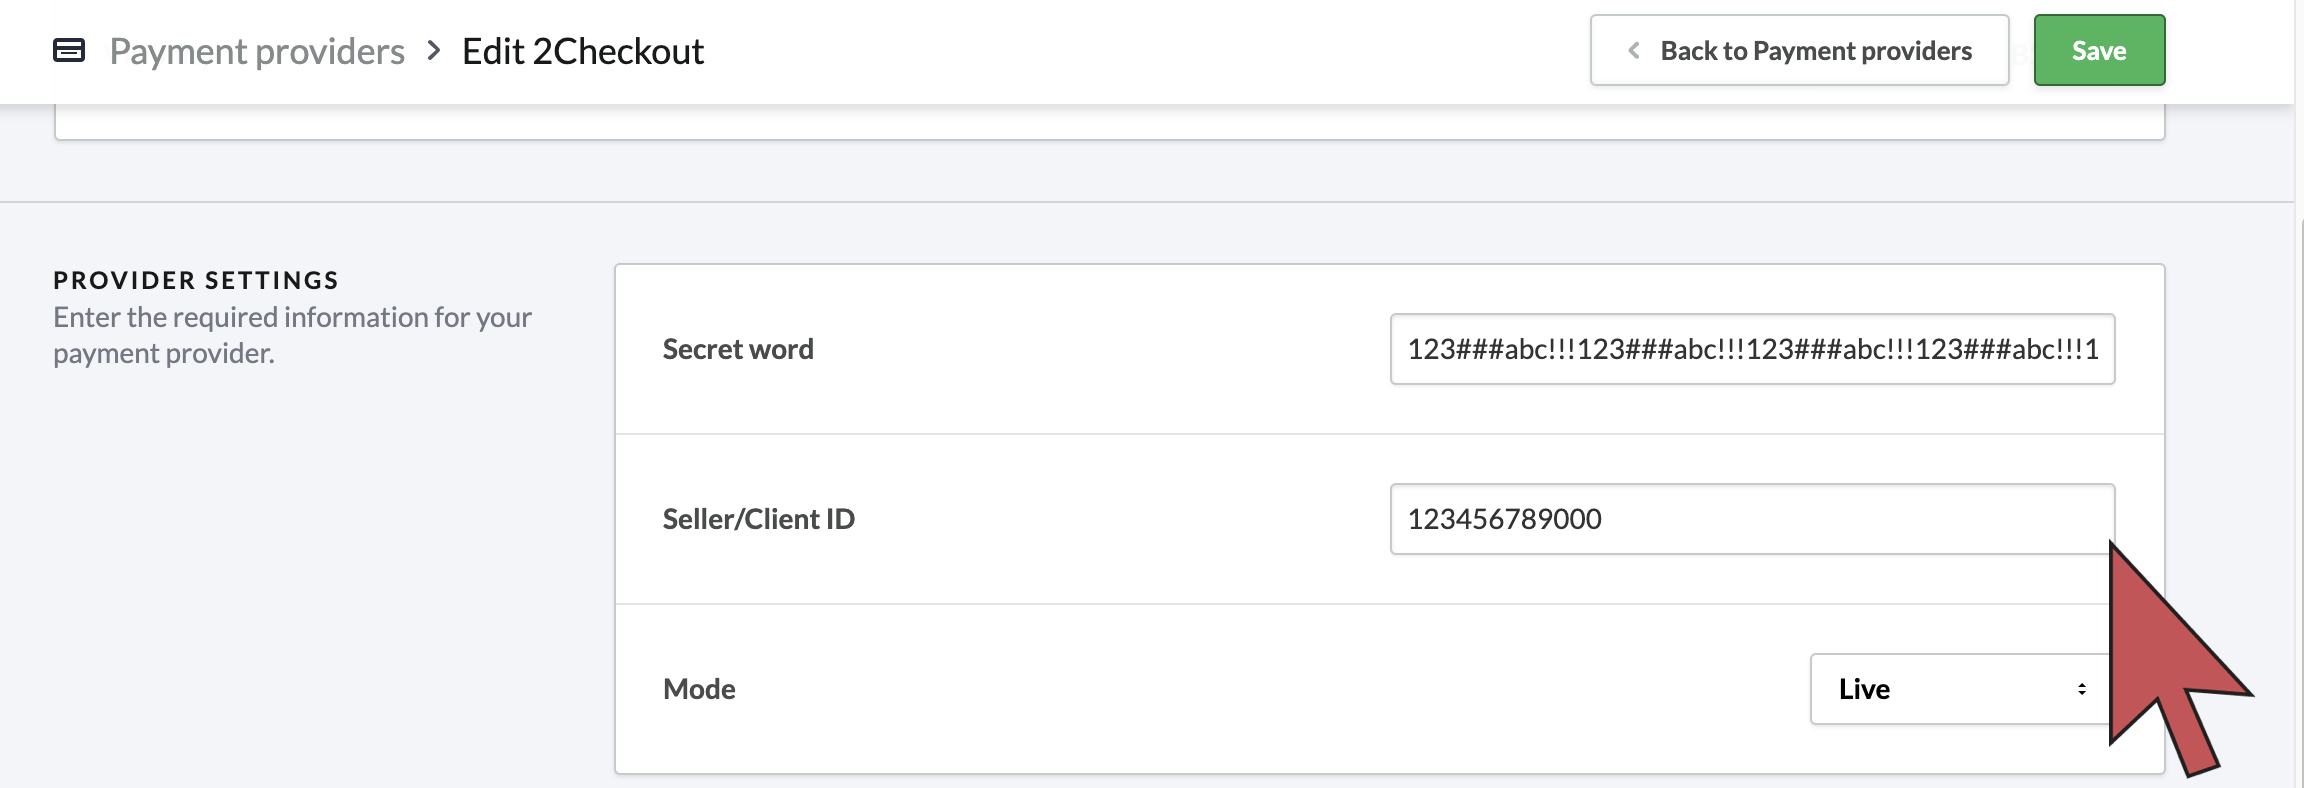
- Enable the Activate this payment provider switch.
- Copy and paste the Secret Word and the Merchant code in their respective fields. The merchant code should be entered in the Seller/Client ID field.
- Enable the credit card brands you would like to see at checkout. Enable at least one so 2Checkout appears as a payment option.
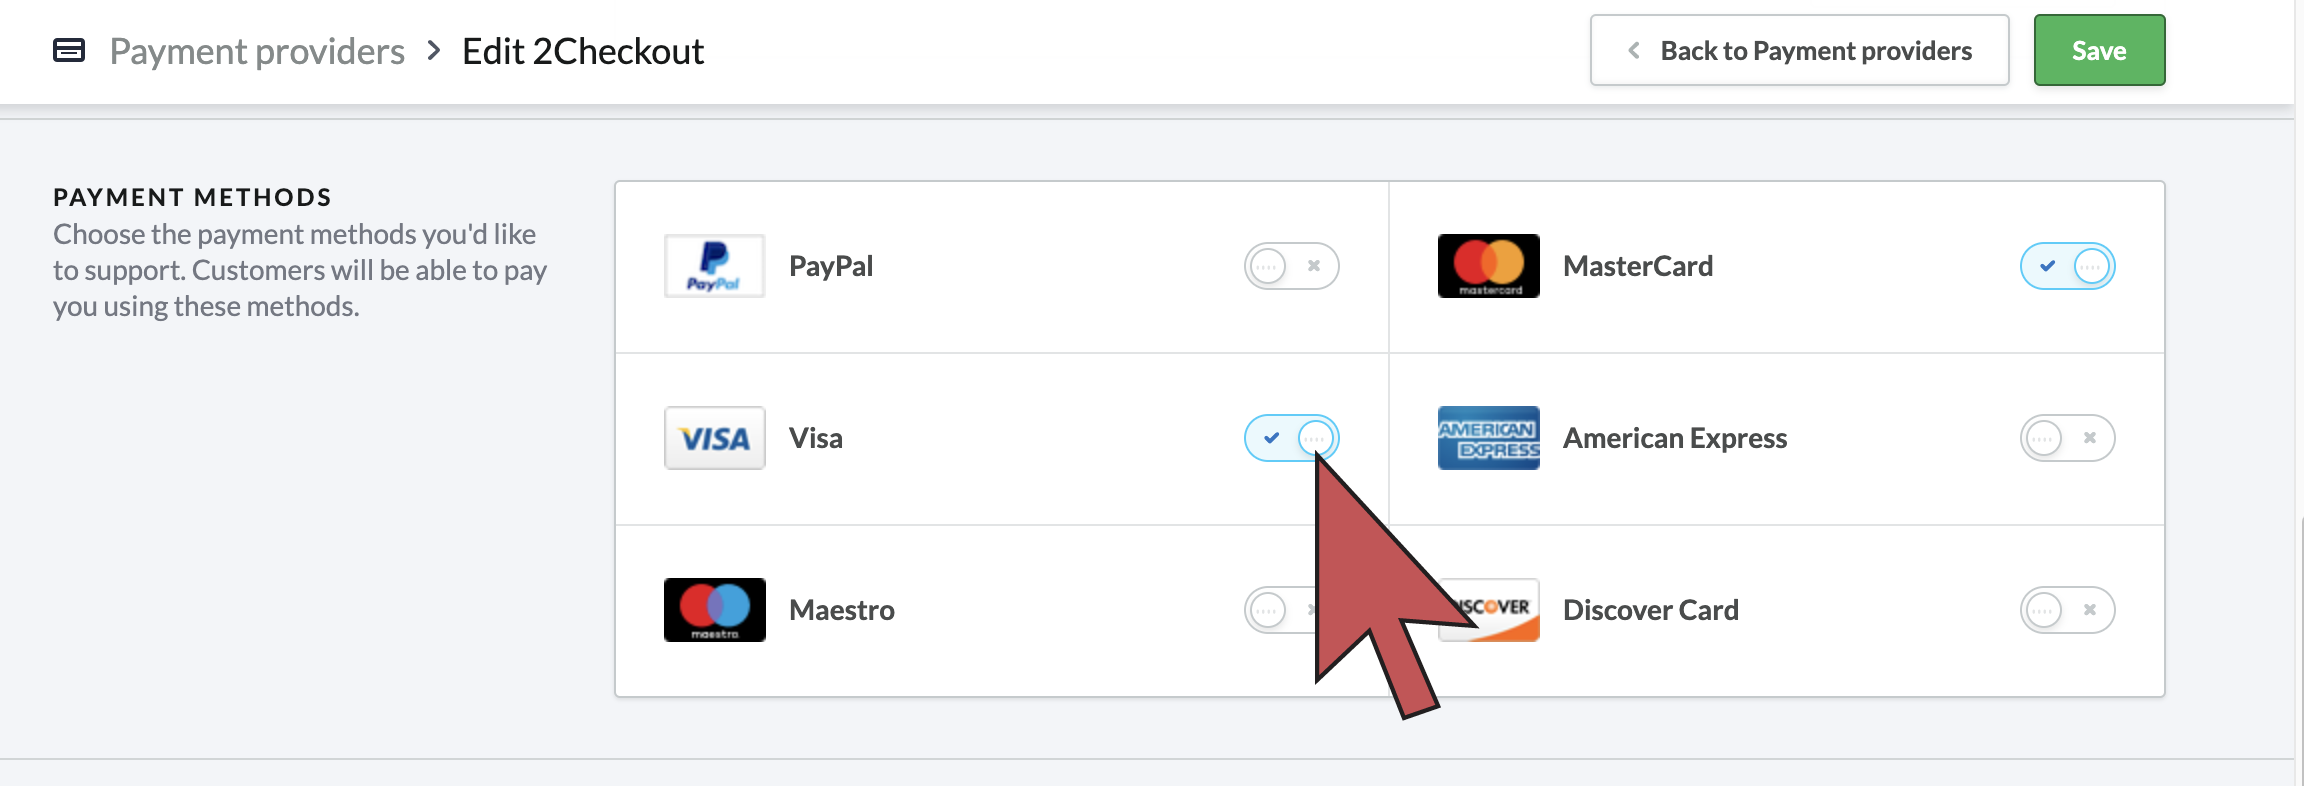
- Select Save.