The Add setting area allows you to give your users easy-to-use options to better manage their web stores.
This article describes the process for adding a setting and includes these topics:
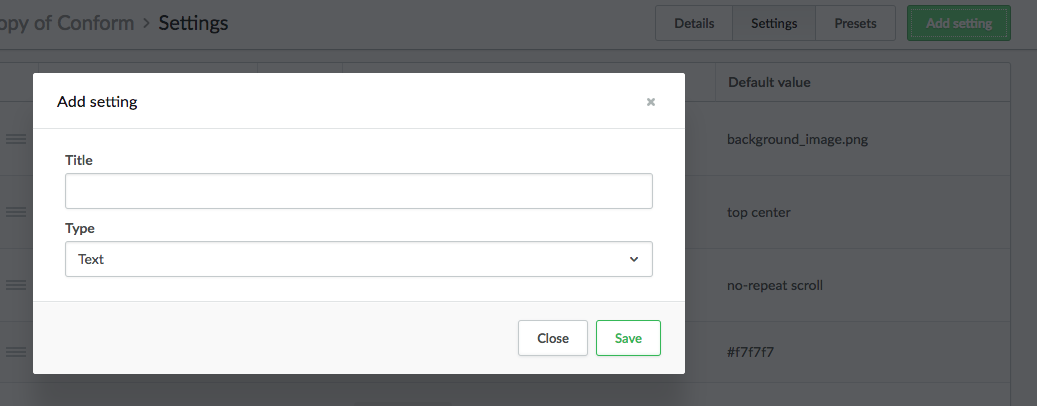
To add a setting
- On the Settings page, click on the Add setting button.
- Add a title and choose the type of setting you want to offer your users, such as a text box, drop down, image, etc.
To edit the setting
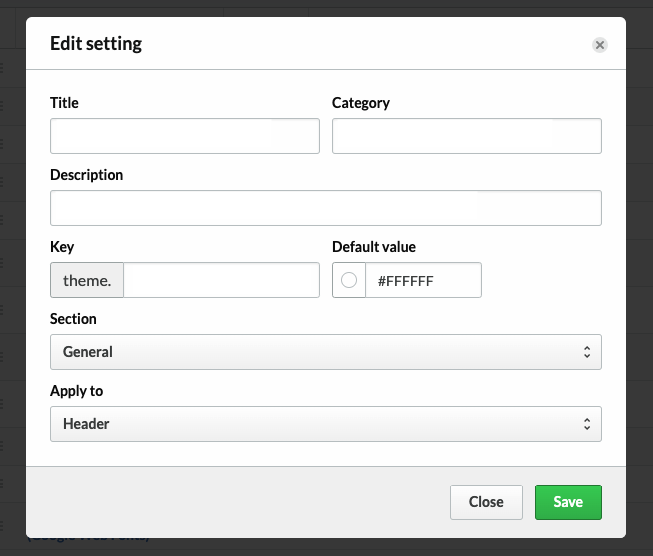
After you create your new setting you can add or edit the following options for it:
- Title - A concise title will help customers locate the setting.
- Category - If you want to group your settings together, simply assign the same category to them.
- Description - A detailed description will inform your users on how to use this setting and what areas of their shops it will affect.
- Key - This is to establish a key to reference your settings from within your .rain files. All theme setting keys start with theme.
- Default value - This is the default value your users will have right after they install your theme.
- Section in theme editor - Specify whether the feature is a General setting or one that relates to a Page(s) in your eCom store.
- Apply to - Specify which general settings area: Header, footer, visual or advanced. Or which page(s) it applies to: Homepage, Category Listing, Product Listing and Product Details.
Adding an Image type setting
If you select the Image type of setting, please note that your key should not be used to reference user-uploaded images. Rather, the default value should have the same filename as an image you previously uploaded to your theme assets.
For example, if you create a setting with the default value “hamburger.png”
You can then add an image with the following snippet:
<img src="{{ 'hamburger.png' | url_asset }}" />You should upload a placeholder image for all images outlined in Settings to prevent broken images upon install of your theme. A good idea for placeholders is to display the recommended image dimensions for this setting. When your users upload a new image, it will overwrite the default you added in the assets.