Create brands and associate products with them so that customers can filter products by brand in your eCom store.
Adding a brand
- On the left panel of Back Office go to Products > Brands.
- At the top of the screen click Add brand.
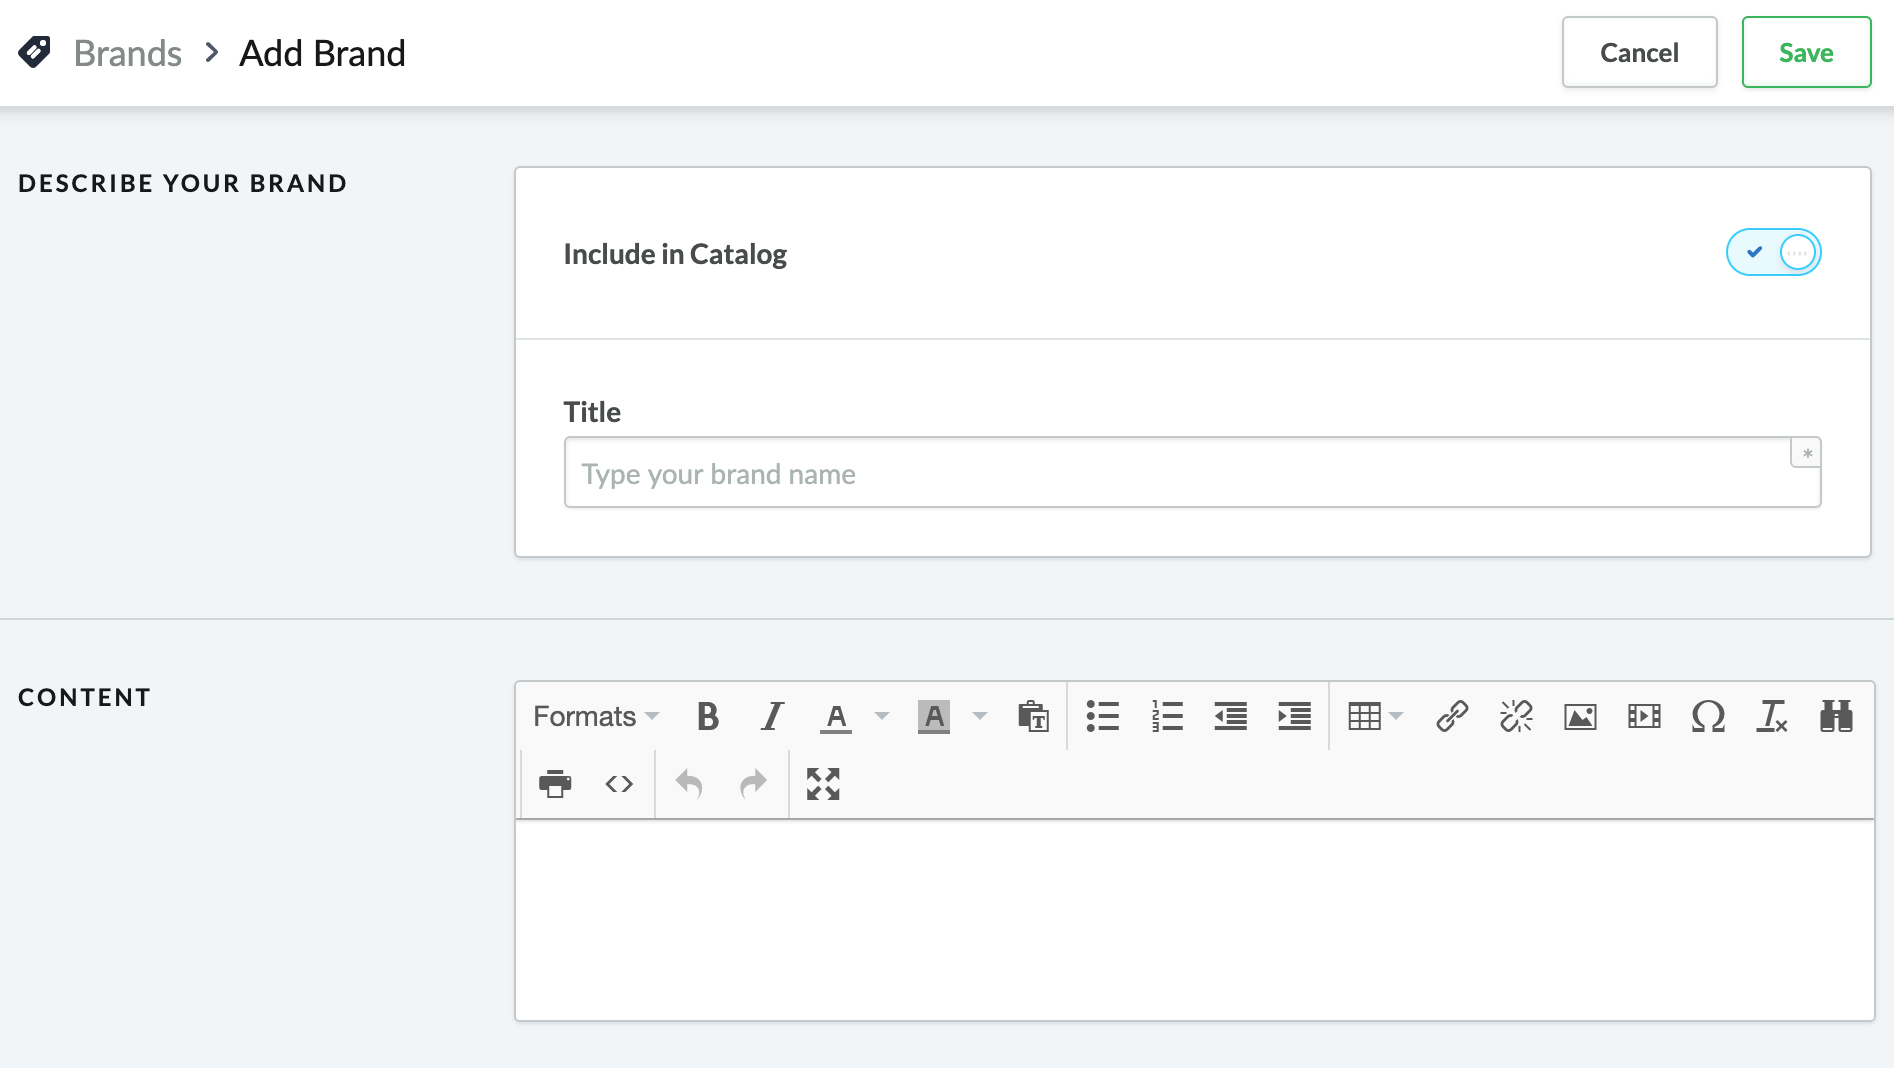
- Enable the switch labeled Include in Catalog to make it visible in your eCom store.
- Enter the name of the brand in the field labeled Title.
- Enter a description for the brand in the field labeled Content. The description will appear on the Brand overview page in your eCom store.
- Click Save.
- You are then redirected to a page where you can edit the brand. Click Browse to add an image. The image is displayed on the product and the brand category pages
For information on supported images, visit eCom image & platform limits.
Adding a brand to a product
- On the left panel of the eCom Back Office, click Products.
- Click the name of a product.
- Select a brand from the drop down menu labeled Brand and click Save.
Showing or hiding brand in your main navigation
Brands automatically appear in the main navigation of some of the theme. If you do not want this, some themes allow you to disable them. To access your theme settings:
- On the left panel of the eCom Back Office, click Design.
- Theme settings.
To learn how to do this with your theme, locate its manual. For more information about locating theme manuals, click here.