Good product photos are essential for the success of your online store. Use clear, visually appealing images to increase your turnover opportunities. We recommend you use square or rectangular high-resolution images, as they provide better results when customers zoom in, and give you the opportunity to optimally present your product range.
To make your product range even more appealing, you can add a unique image to each variant of your products.
Do not hesitate to ask your suppliers for new pictures if theirs do not meet your quality standards.
Adding an image
Normally, you can add a maximum of 10 images to each product. However, there are important differences and special requirements if your eCom store is connected to another POS. If your eCom store is connected to:
Follow these instructions to add a product image in eCom:
- On the left menu of the Back Office go to Products and choose the product you want to work with.
- Scroll to Images.
- Click Browse files to select an image from the hard drive of your computer and click the image to add it. If you want to add several images from the same file location, press Ctrl/Cmd while you select your images.
- Click Open to add the images to the product.
You can also add images by dragging them onto the Drag & Drop field.
To change the order of an image, click and drag it.
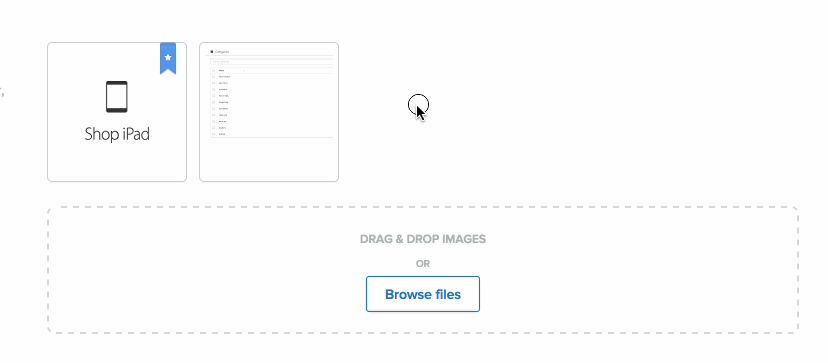
Image dimensions
The limits for image dimensions depend on how a theme is designed and the platform limits when have edited your theme's code. For more information, see:
To delete an image
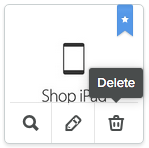
Mouse over the image and click the Trash icon to permanently delete the image.