Besides using product options, creating custom fields for a product is an efficient method to add product variants to the product range of your online store.
Contrary to product options, no new products with their own inventory management will be created. This is useful if you want to offer your customers products in several variants while keeping the product range of your store well-organized.
Creating custom fields
Create custom fields if several products within your offered range share the same feature(s). Do you need the same custom field for a number of products? If so, then you can also create a custom field.
- On the left menu of Back Office click Products > Custom fields.
- At the top of the screen, click Add new set.
- You can enter a name for the set. The name of the set is used to organize products and is not visible to customers.

- Click Save sets at the top-right of the screen.
Add fields to a custom field set
After the set is created, you can add multiple fields to it.
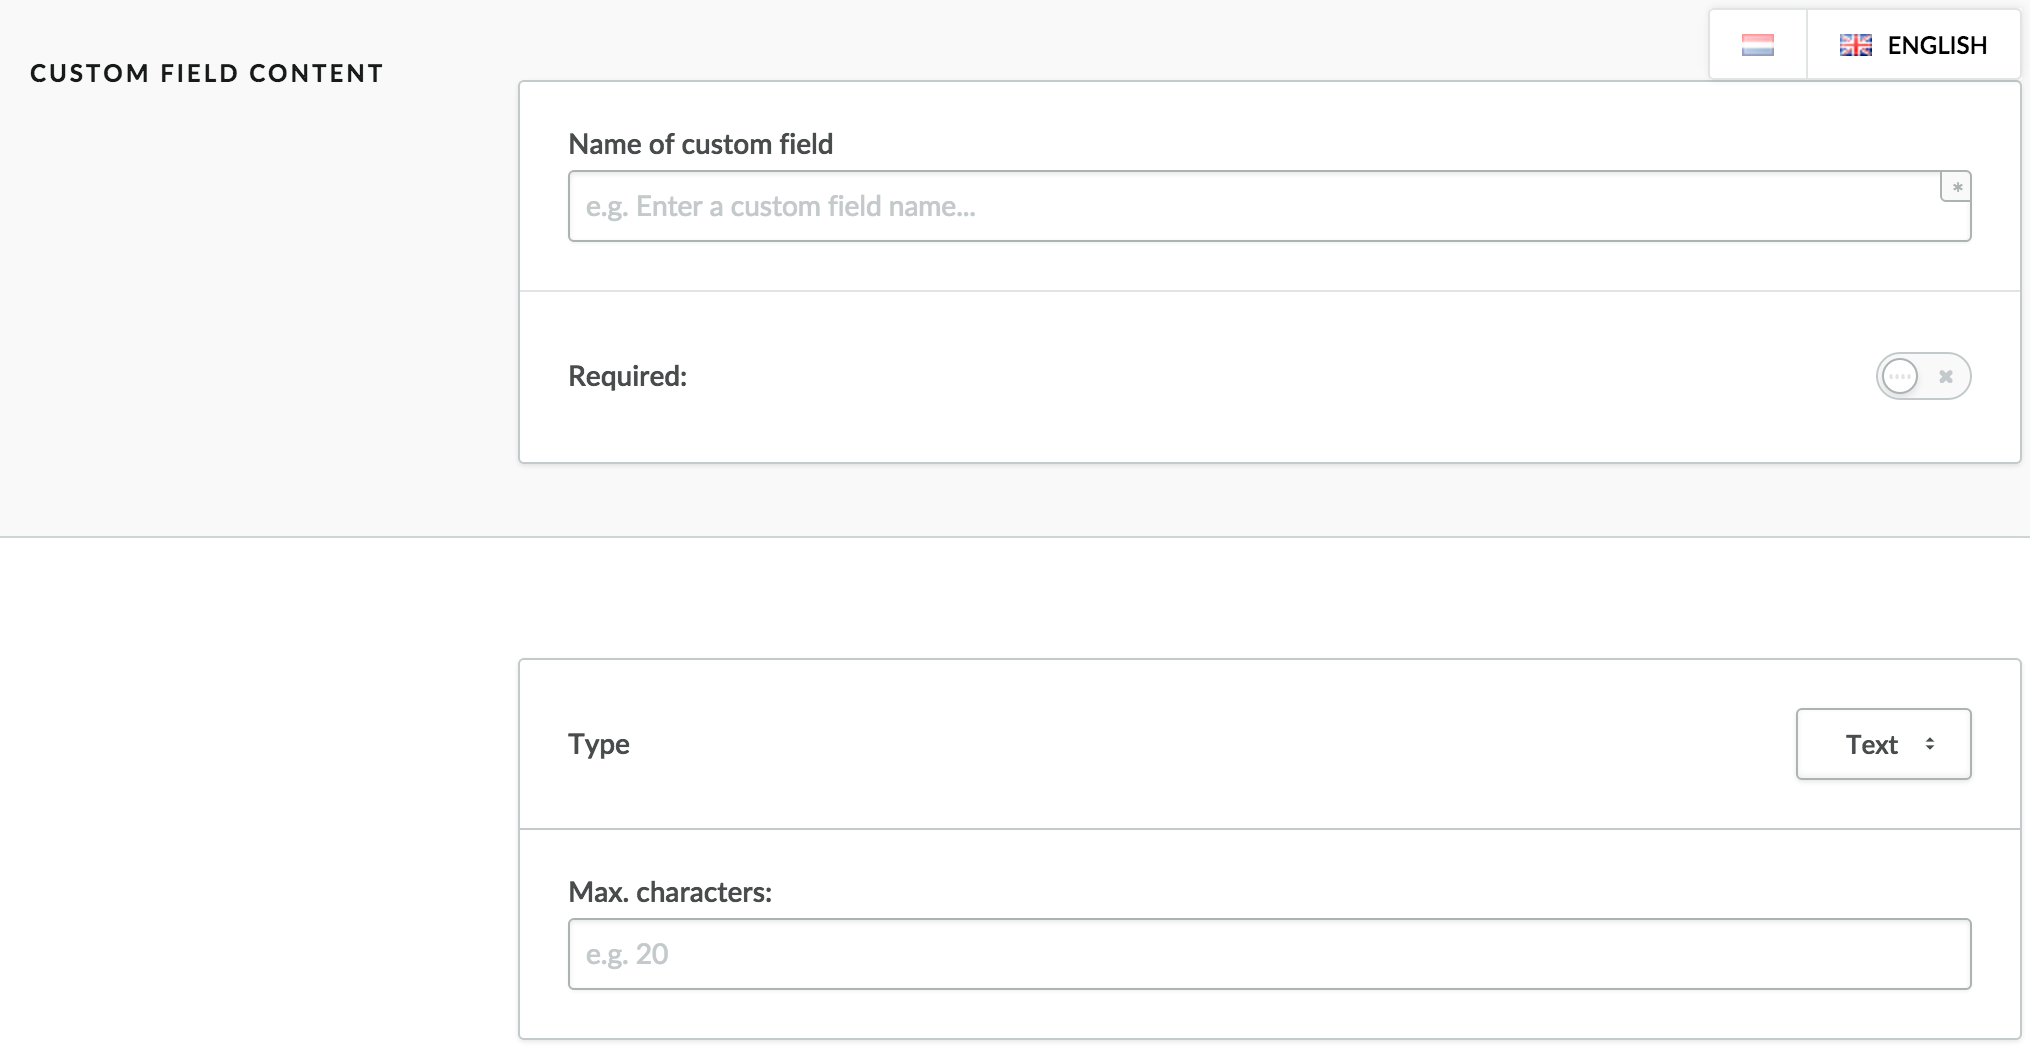
- In the Custom Fields area, click Add custom field.

- Name of custom field – Enter the name of the custom field such as size or color. This name will be visible on product pages in your online store.
- Required – Enable this option if you want this to be a required field that customers must complete before they can place their order.
- Type - select what kind of custom field you would like to add. Click here for an explanation of all types.
- The following step depends on the type of custom field you've selected. Add values for the Select, Multiple select, Radio button and Checkbox fields. For a Text field, enter the maximum number of characters. Click here for an explanation of all types.
Add a custom field set to a product
- Go to SHOP > Products > Products and select the product.
- Scroll down to Custom Fields.
- Click Add custom field set and select the custom field set you want to add.
- Click Save to add the custom field set.