You can add many files to your store, such as images for text areas, PDF documents such as specifications and assembly instructions, and videos. You do not have to add product images here. You add product images from the product page.
To upload a file
- On the left menu of the Back Office click Tools > Files.
- At the top of the screen click Upload files and browse for the file you want to add. Please note that all files uploaded in this folder are publicly accessible.

Click Rename at the right of a file to rename it, or Delete to delete it.
To add files to a description
In every eCom screen that has a text editing area, such as product descriptions and email messages, you can add images and documents.
Adding images
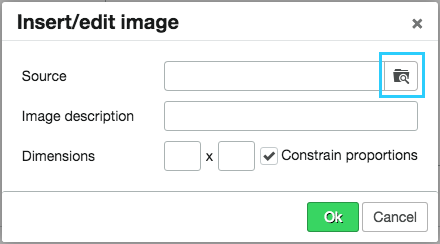
- At the top of the text field click Insert/Edit Image.

- To add an image from the web, enter the image URL in the Source field
or
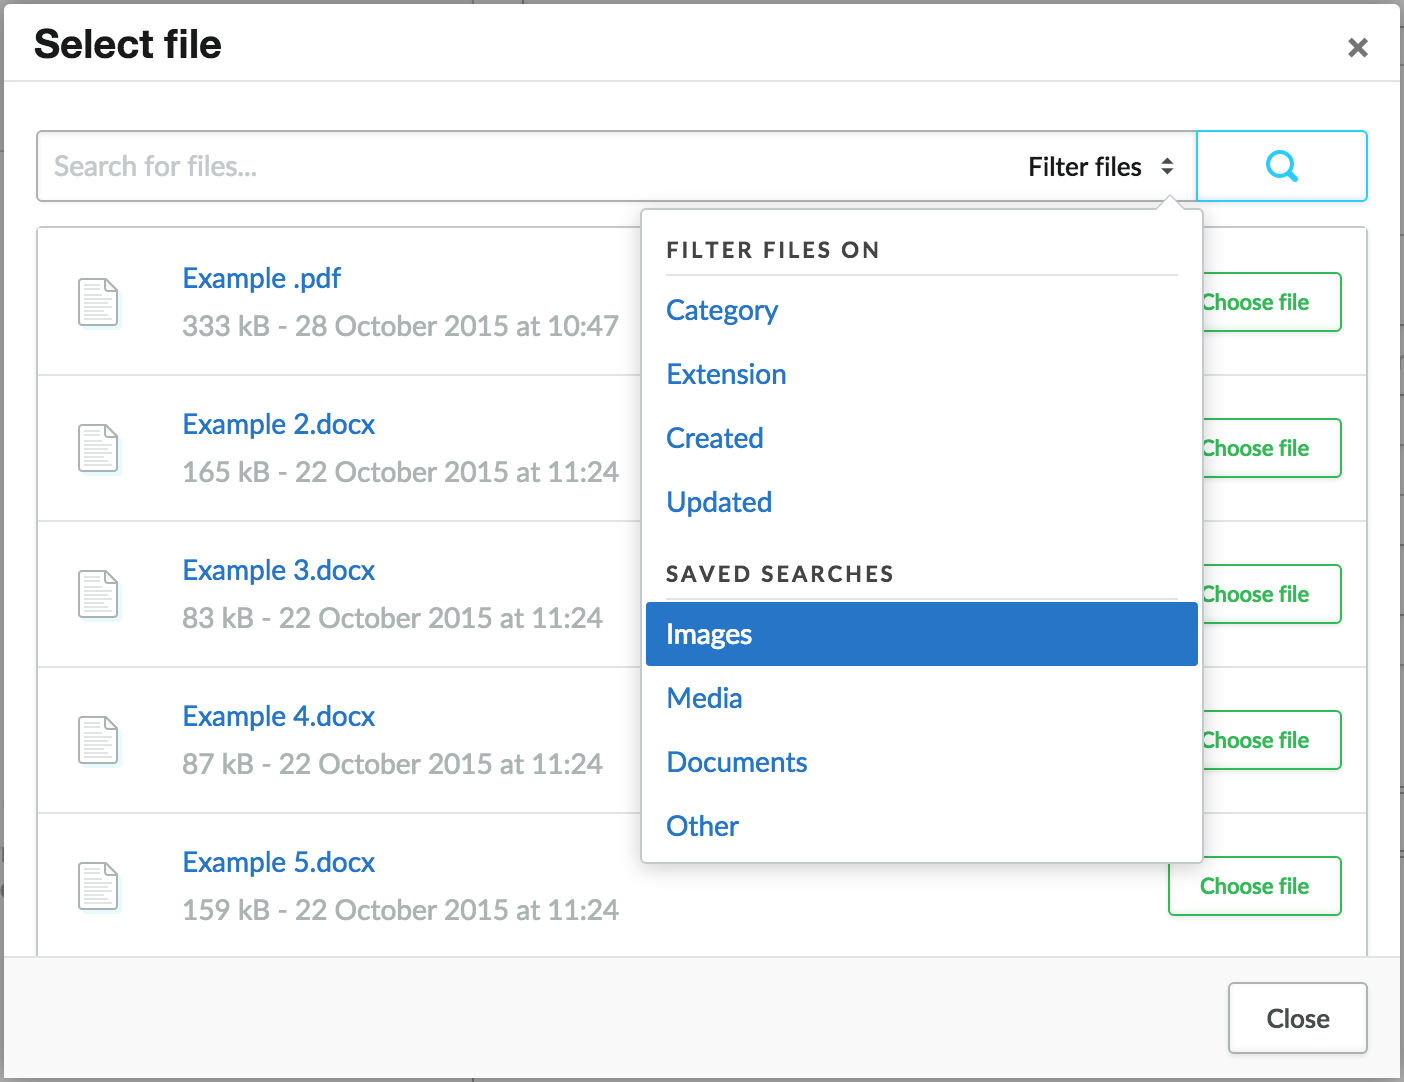
to add a file that you uploaded, click the Files icon.
- Click Choose file for the image you want to add.

- Enter an image description and optionally resize the image.
- Click OK to add the image to the text field.
Adding documents
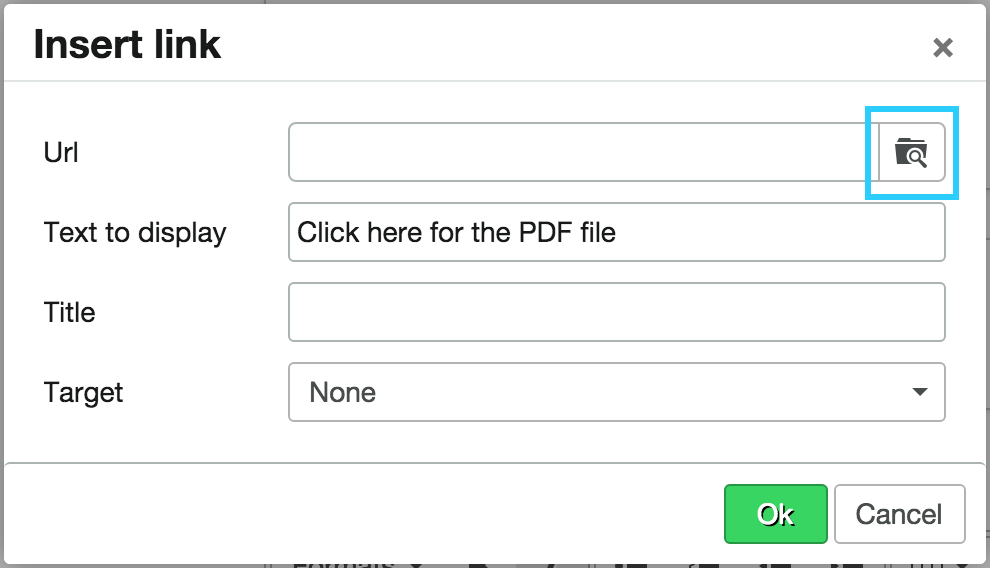
- Enter a line like Click here for the PDF in the text area.

- Select the text.

- Click Insert/Edit Link in the text field menu.

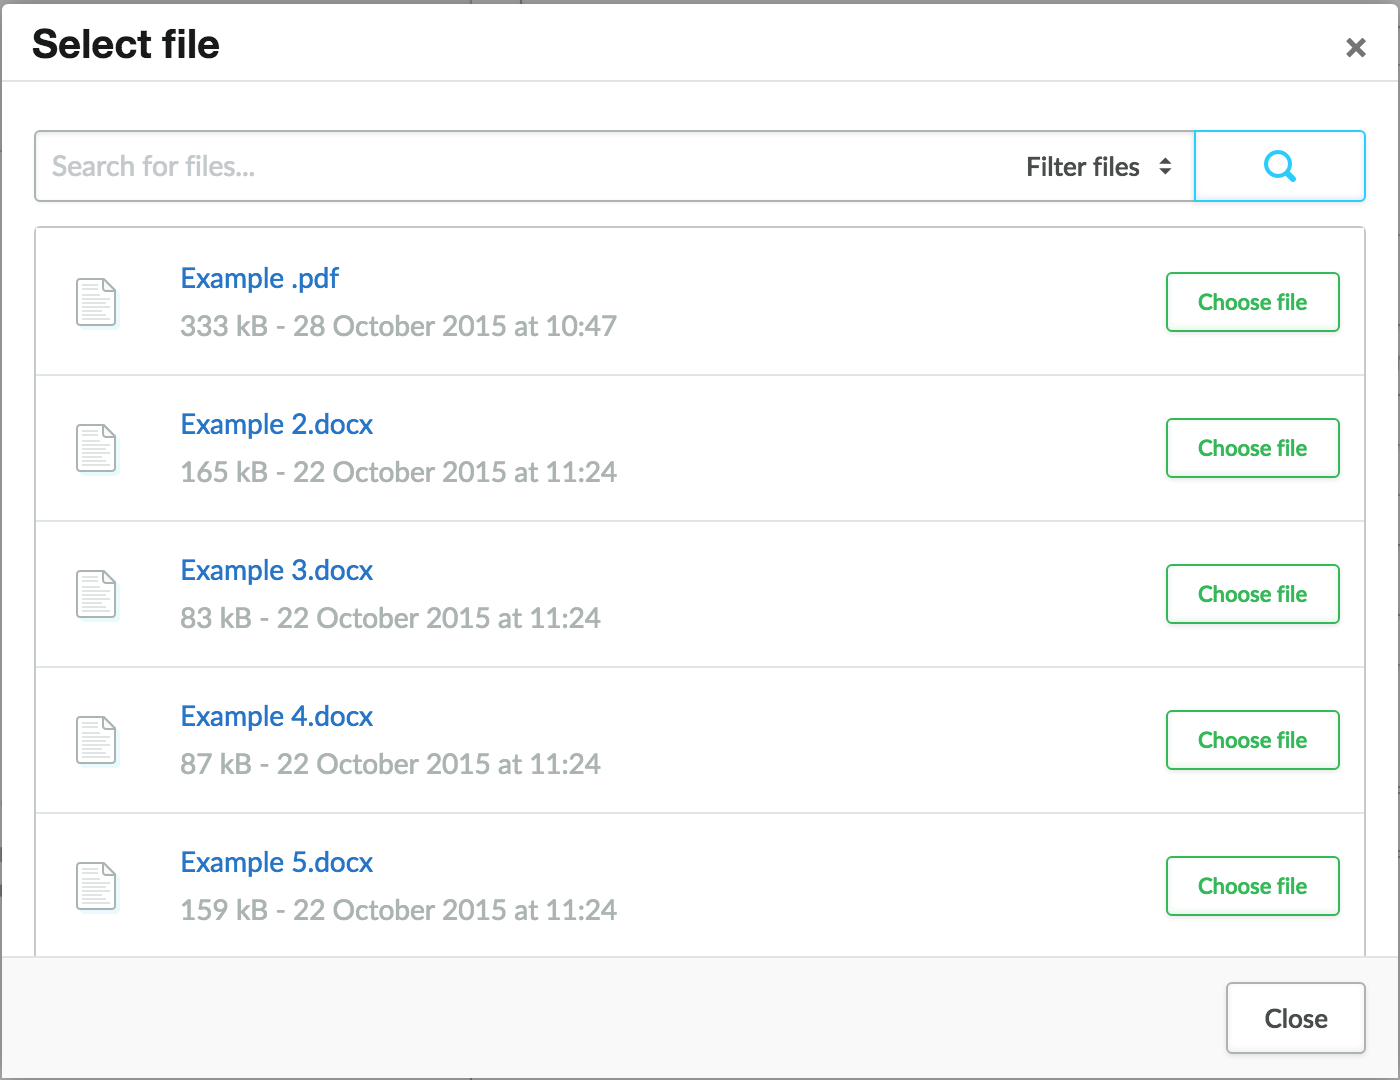
- In the URL field, you can enter a link to a file, or click the Files icon.

- Click Choose file for the PDF you want to add.

- Enter the name of the PDF file in the Title field.
- Select New Window in the Target list.
- Click OK. The Click here for the PDF file text has now become a file link.