Returns vs refunds
Returns only adjust inventory. To reimburse your customer, read refunding orders instead.
Creating a return is a useful way to keep track of the reasons why products were returned. You can create a return for your customer in the Back Office and customers can also create returns by requesting them through their customer account. Visit the article titled How a customer does a return for more information.
To learn how to process an exchange, click here.
To process a customer created return:
- On the left menu of the Back Office go to Orders > Returns and click the return you want to work with.
- Review the return reason and action and select the status of your choosing. See for a description of each status.
- Click Save.
To create a return for your customer:
- Go to Orders and click the relevant order number.
- Click Create return.

- Complete the form. See below for more information on each option.
To prevent returns from customers:
- Click Settings from the sidebar when on the Home screen in the eCom back office.
- Disable the Allow returns switch located in the ACCOUNT & SERVICE section.
- Click Save.
Return options
The following details explain the fields you find when processing a return:
|
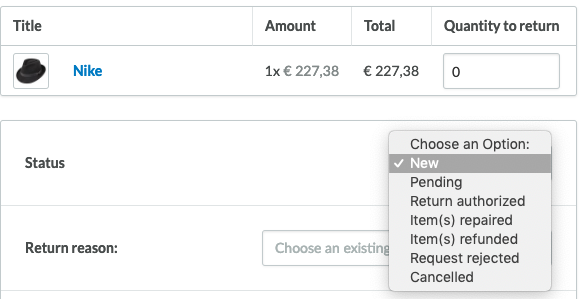
Quantity to return - The number of items a customer wishes to return. Statuses
|
 |
|
Return reason - the reason why your customer wants to return the product. You can create a new return reason. For example, a customer wants to return a t-shirt because it has a manufacturer defect, so the return reason selected is Defective product. Return action – how you or your customer wants the return to be resolved. You can create a new return action. For example, the customer wants to receive a replacement for a defective t-shirt, so the return action might be, Send a replacement t-shirt. NOTE: Your customers can see the return reason and the return action by visiting your online store's homepage > Selecting Login/Create account and logging in > Selecting My orders > Selecting an order with a return by selecting View > Scrolling to Returns. |
 |
|
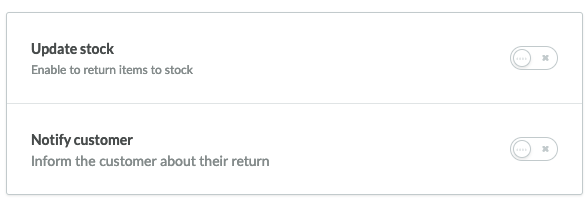
Update stock – Select whether to add the returned product to inventory. Do not add the product if, for example, it is faulty. When inventory is connected to a physical point of sale, Update stock is not an available setting. To return, create a refund: Notify customer – Use this to email the customer about the return status. To create the text of this email go to Settings > WEBSITE SETTINGS > Notification emails. |
 |
|
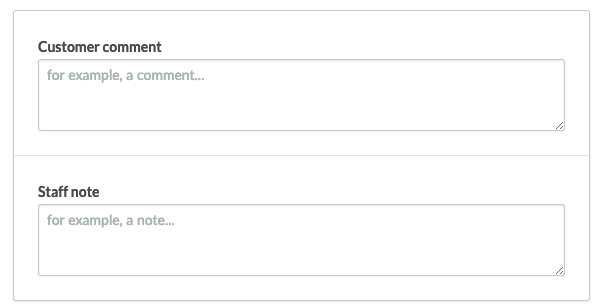
Customer comments – Enter the customer's comments about the return. It will be visible only to you and other Back Office users. Staff note – If your online store is managed by several users, you can add an internal note for them. |
 |