Note: These instructions are regarding the old checkout experience. To learn more about the new checkout, view our About the new eCom checkout article.
When a customer selects Proceed to checkout in your online store, they're redirected to a checkout area consisting of these stages:
- New or registered customer screen
- Customer information
- Shipping method
- Payment method
- Order confirmation
- Thank you page
 New or registered customer screen

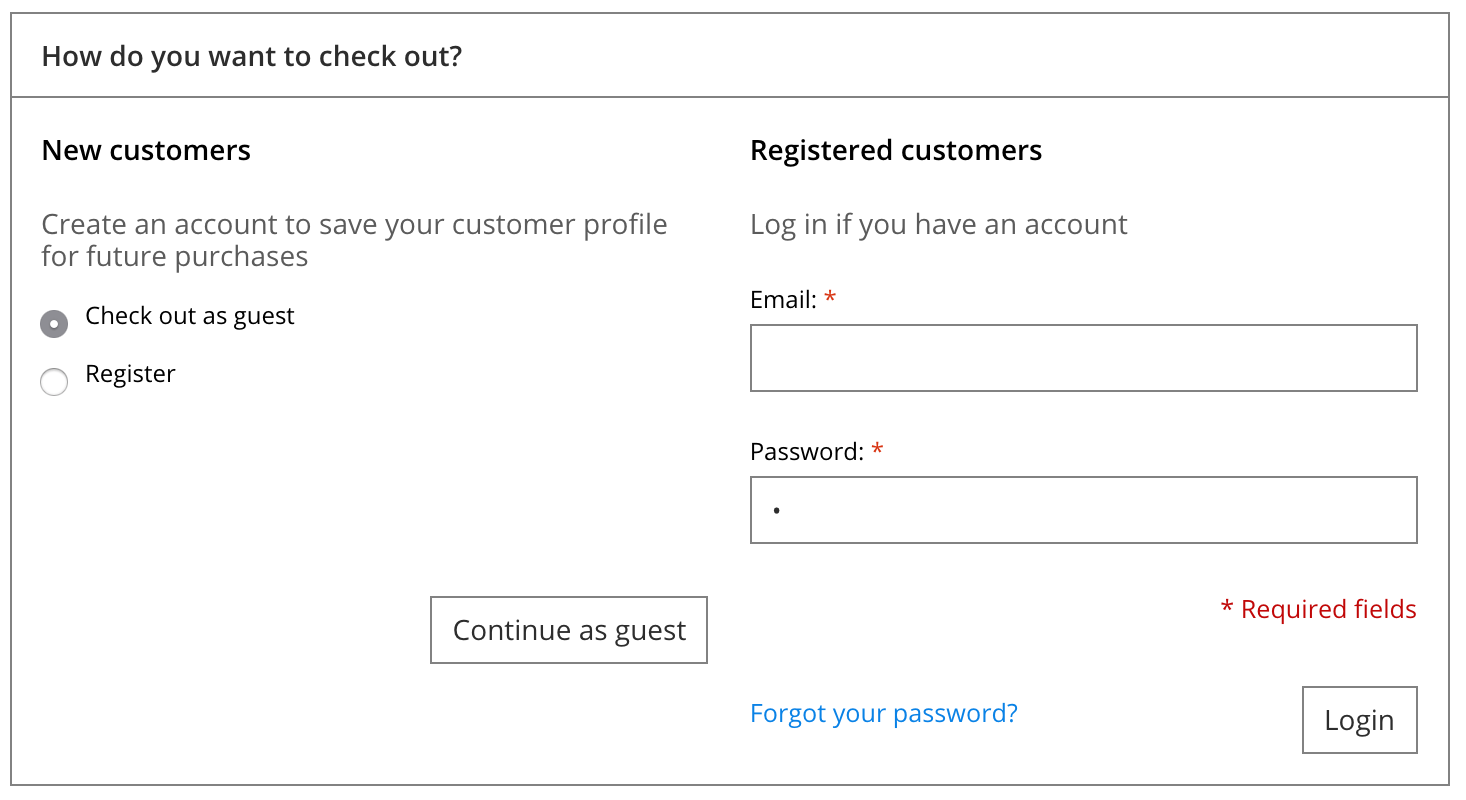
If your customer hasn't yet logged in yet, the first stage of checkout is a login page. This stage looks different depending on the type of registration method you have configured.
Your customer can:
- Enter their credentials and select Login. This will autofill with the information your customer entered when they registered for an account.
- Select Checkout as guest, and then select Continue as guest to proceed with an account.
- Select Register, and then select Continue to create an account with your store while completing checkout.
- Select Forgot your password? to receive a password reset link generated by the Account password automatic notification email.
 Customer information

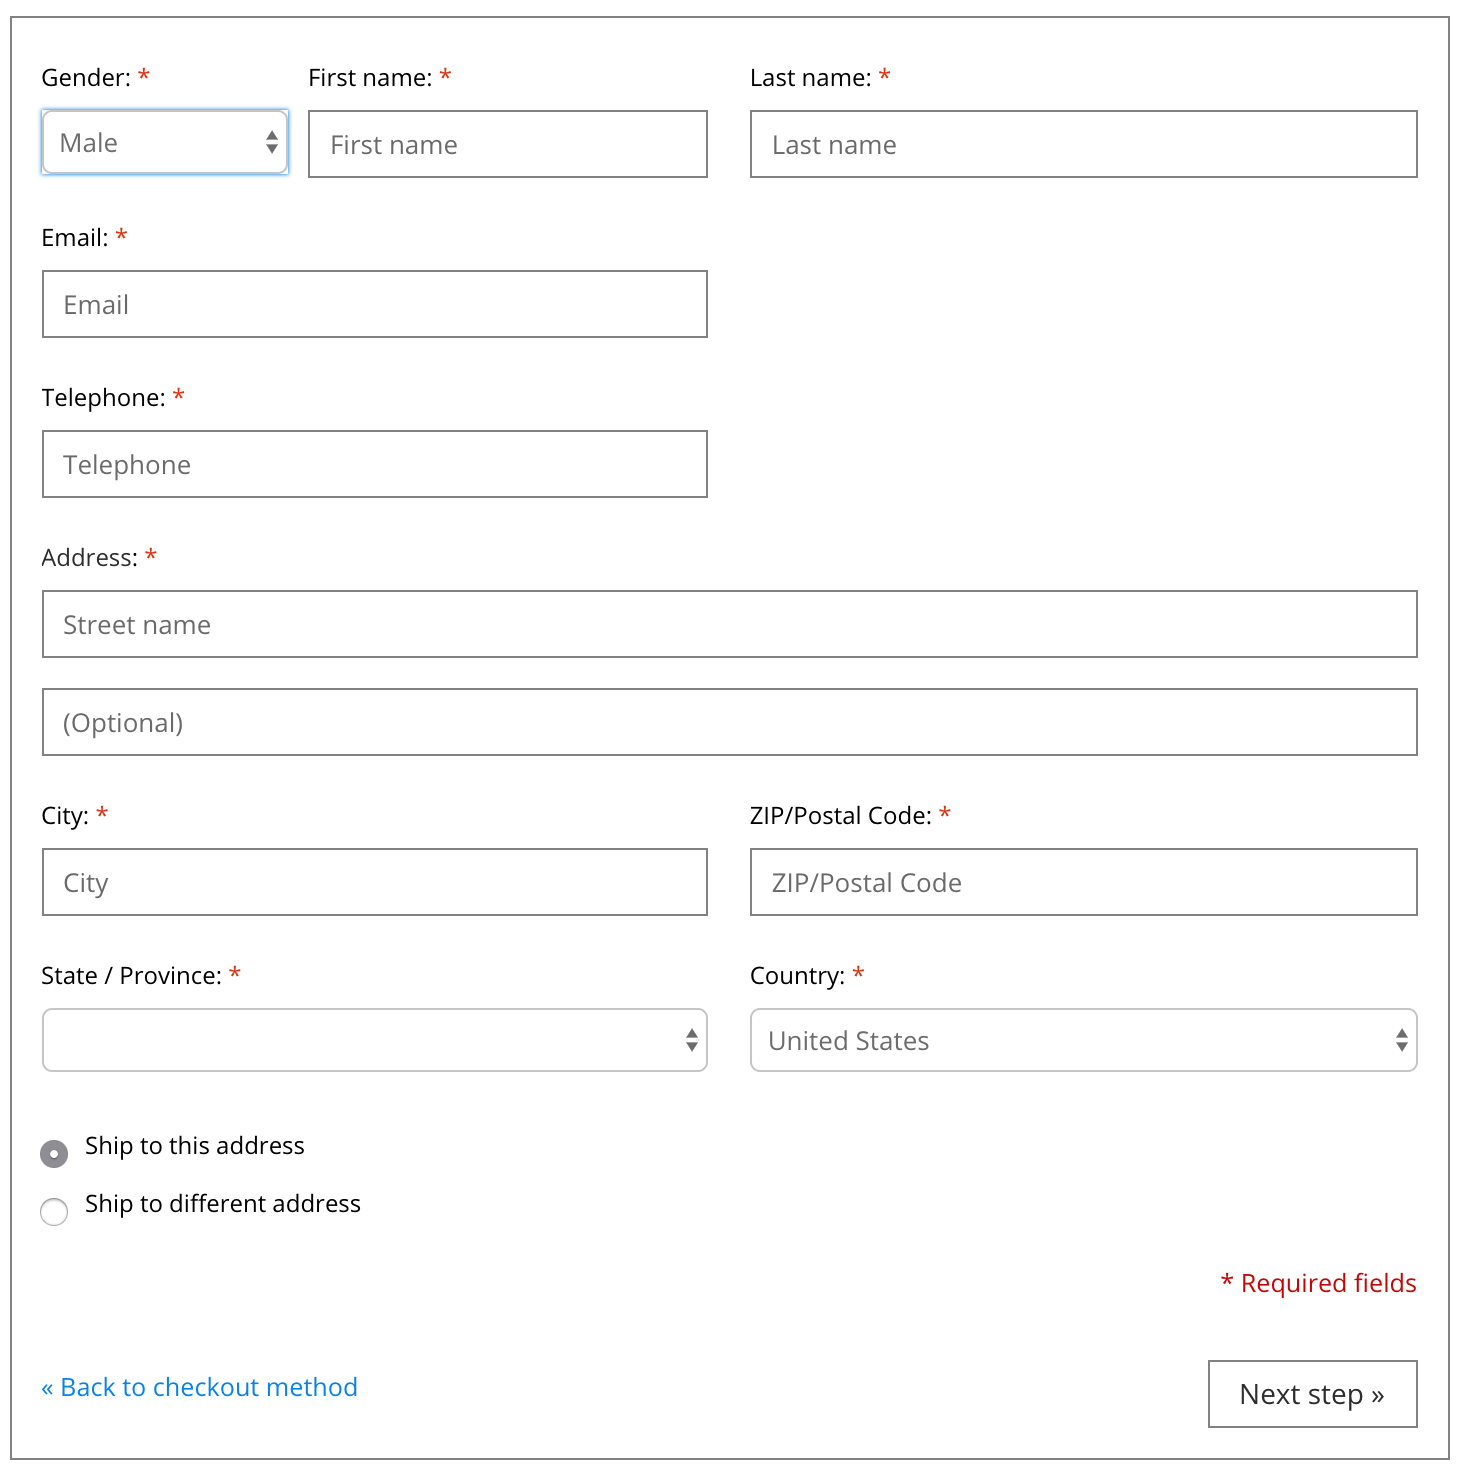
The customer is then redirected to a customer information page where they must enter personal information such as name, address, and any other fields you've set as required information.
You can adjust the fields in this stage in Checkout.
 Shipping method

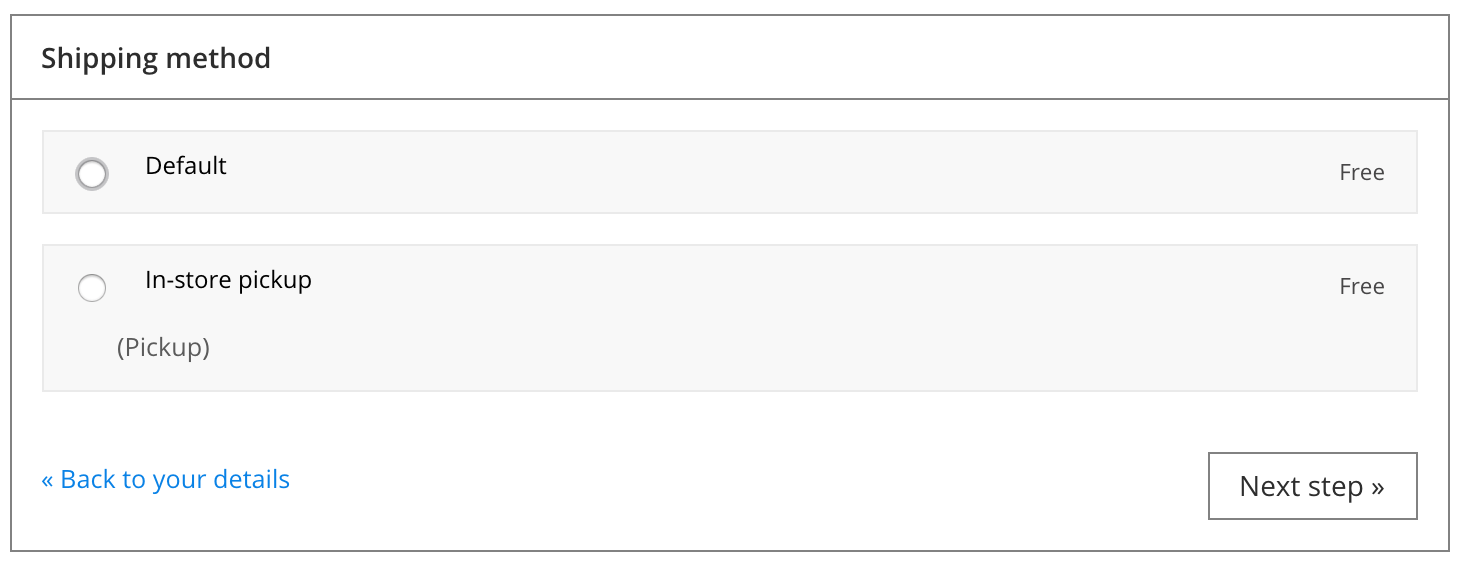
This stage informs the customer about the shipping costs. What the customer sees in this stage depends on the shipping method(s) you have configured under Settings > SHOP SETTINGS > Shipping Methods.
 Payment method

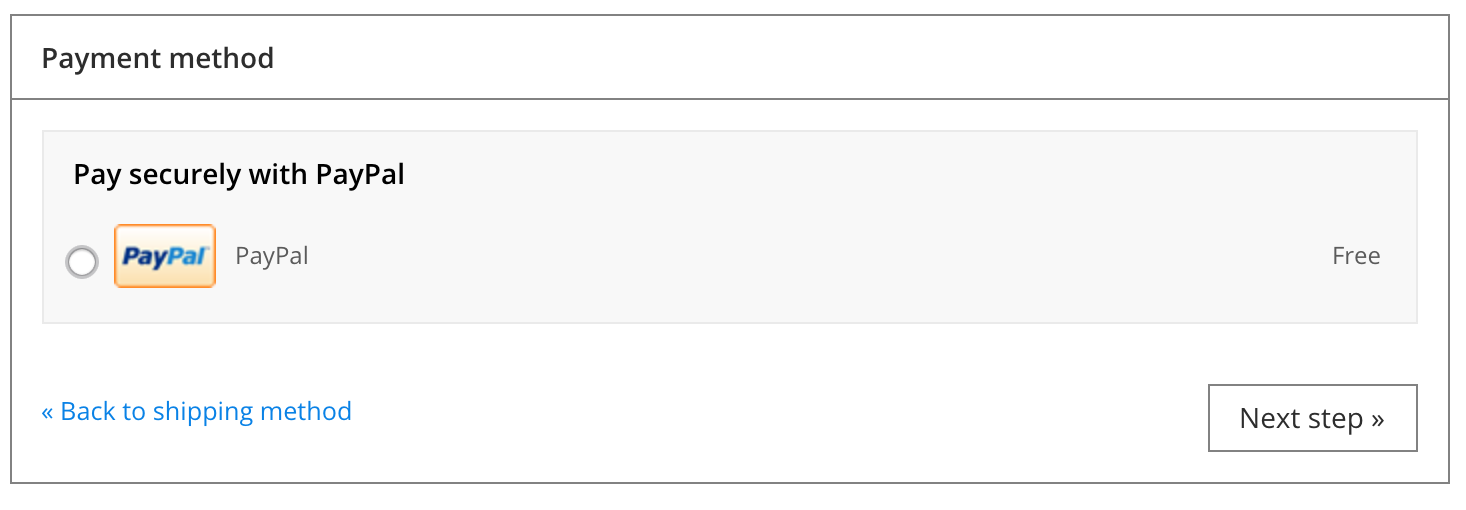
The next stage prompts the customer to select a payment method. You can configure these payment methods in Settings > PAYMENT SETTINGS > Payment Providers.
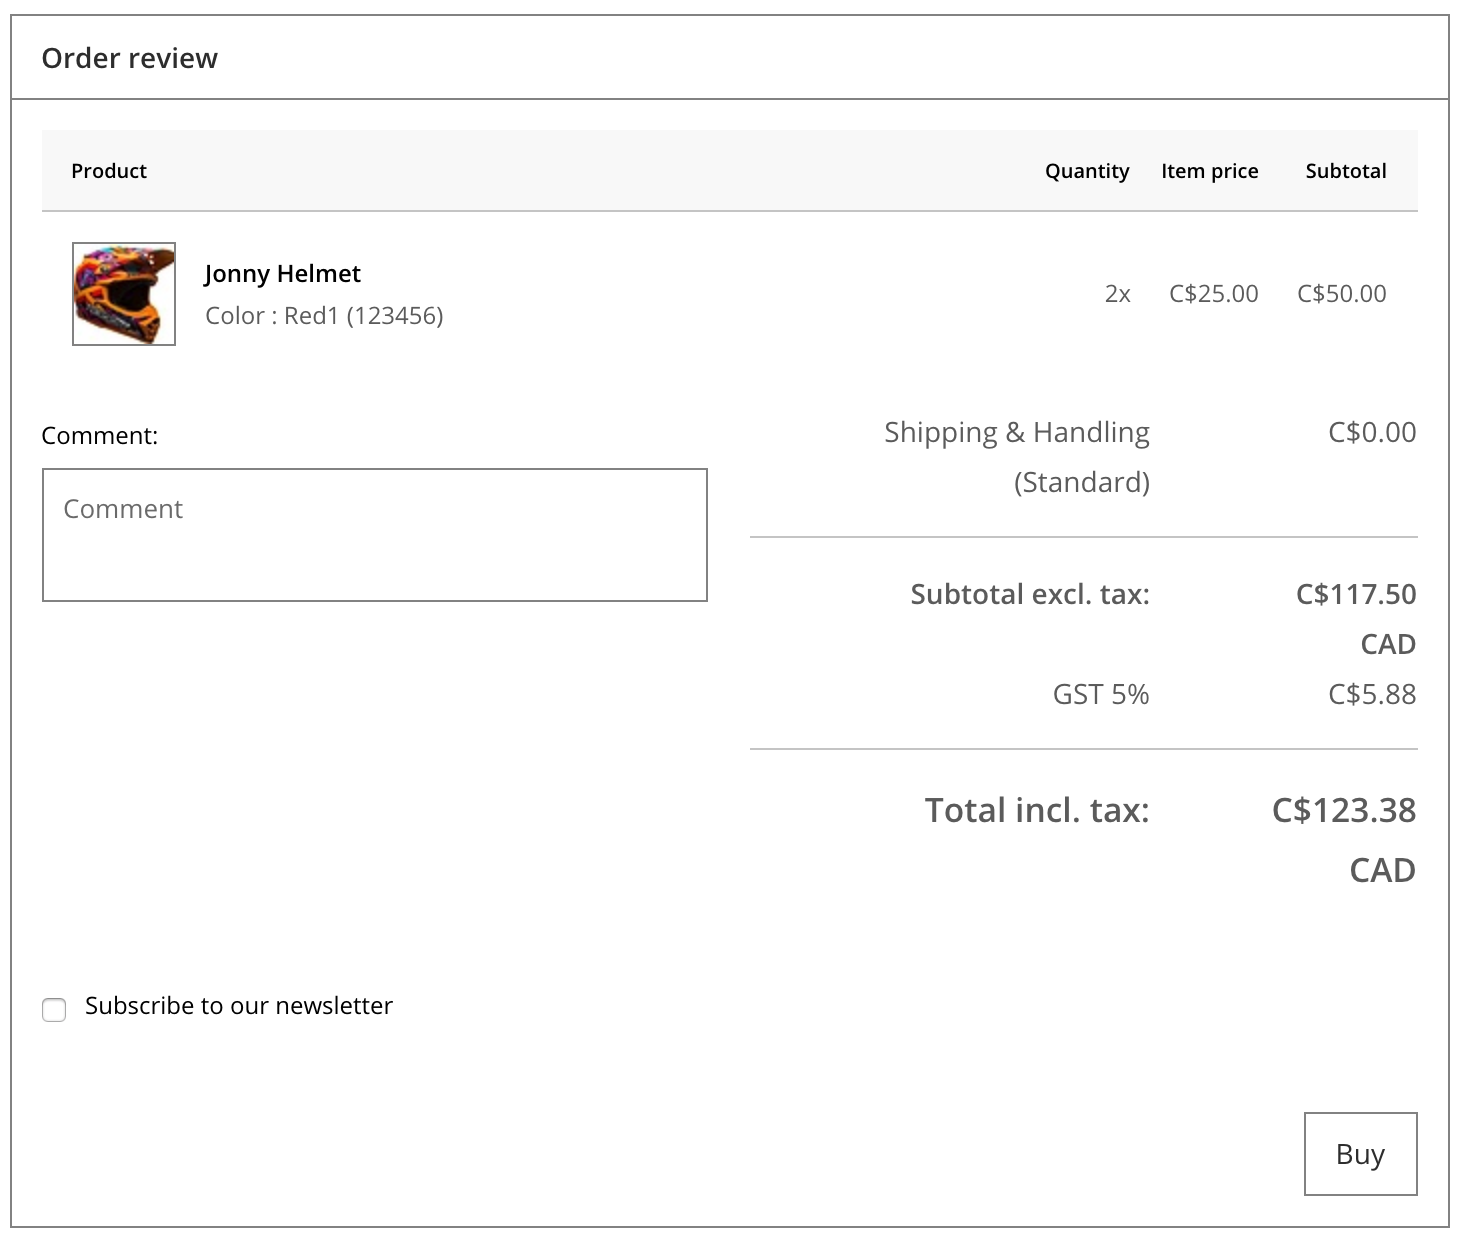 Order confirmation

This important stage is when your customer actually creates the order by selecting Buy. Your customer can submit comments that you'll see on the dashboard of the corresponding order.
Here your customer can also choose to subscribing to your newsletter.
Your customer may have to accept general terms and conditions, prior to placing their order. Enable or disable this in Settings > Advanced.
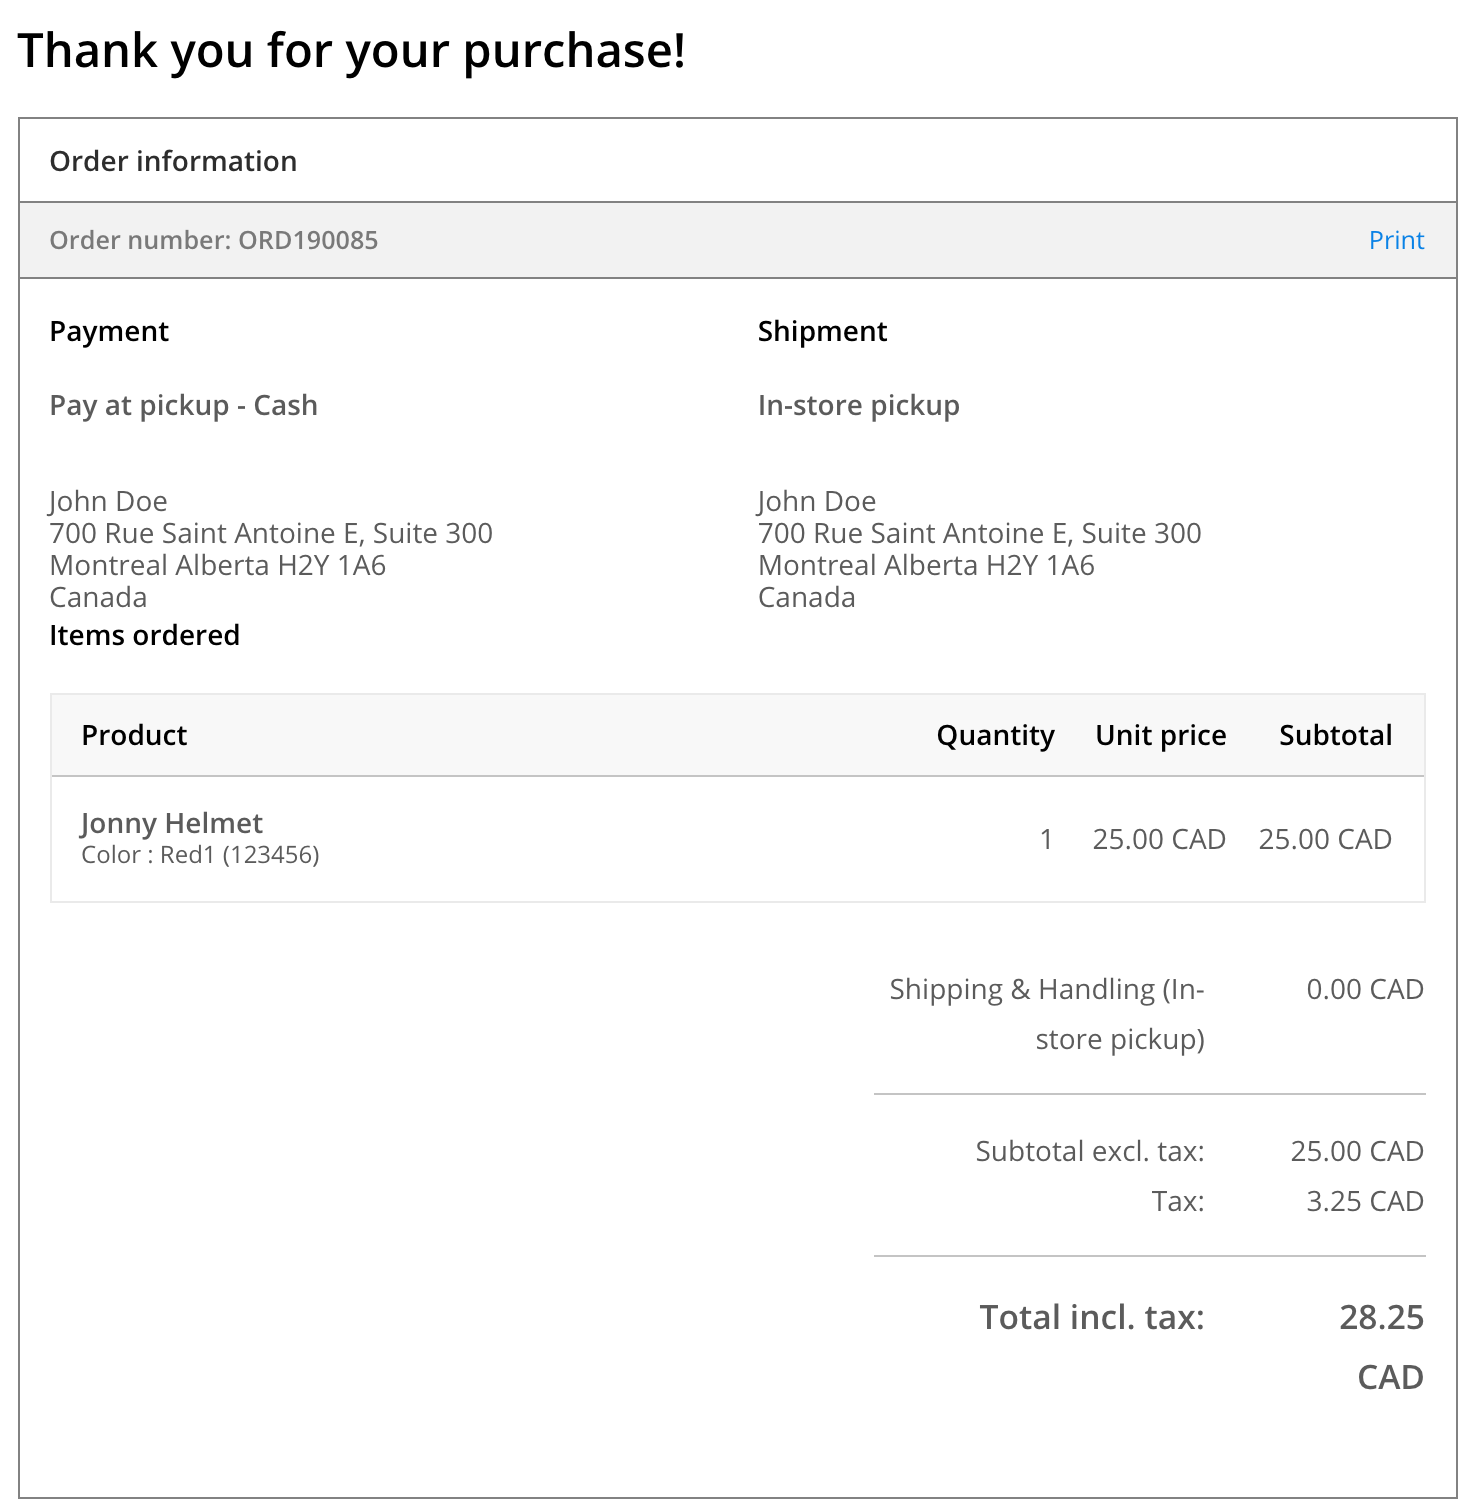 Thank you page

The final stage in checkout is your thank you page. It displays once checkout is complete. It contains a summary of the order.
If a customer chose a payment method that takes payment on the provider's website, they are redirected there before viewing the thank you page.
The title and content of the thank you page can be customized in Content > Thank you for your purchase! page.