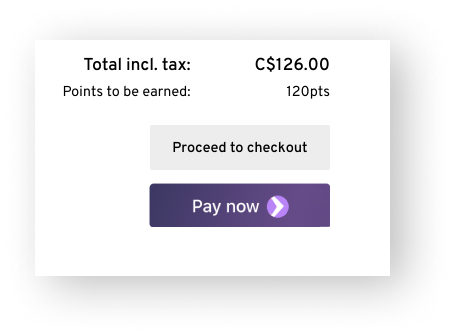
Enable Lightspeed’s digital wallet for Stripe to accept Apple Pay and Google Pay at your eCom checkout. Digital wallet uses the payment details saved in Apple Pay and Google Pay, so that your customers can skip the checkout process and make a purchase with a single click. In addition to giving your shoppers the option to use their preferred payment method, enabling digital wallet can help you improve your customer conversion rate.
- Requirements
- Enable digital wallet
- How do my customers set up Apple Pay or Google Pay?
- How are the Apple Pay and Google Pay buttons displayed at checkout?
Requirements
Before you can enable digital wallet for Stripe, you must meet the following requirements:
- Register for a Stripe account and activate it as a payment provider in your eCom back office. You can view our Setting up Stripe article for step-by-step instructions.
- Use the default design of the Lightspeed cart. If you have customized the cart’s default code, contact your developer for help restoring it.
- Digital wallet is not compatible with EasyPost shipping methods. If you're using EasyPost shipping methods, you need to disable EasyPost and enable ShipStation or other manual shipping methods instead.
Enable digital wallet
If you meet the above requirements, you’re ready to enable digital wallet for Stripe! This is a two step process:
Step 1: Enable digital wallet in the Stripe dashboard
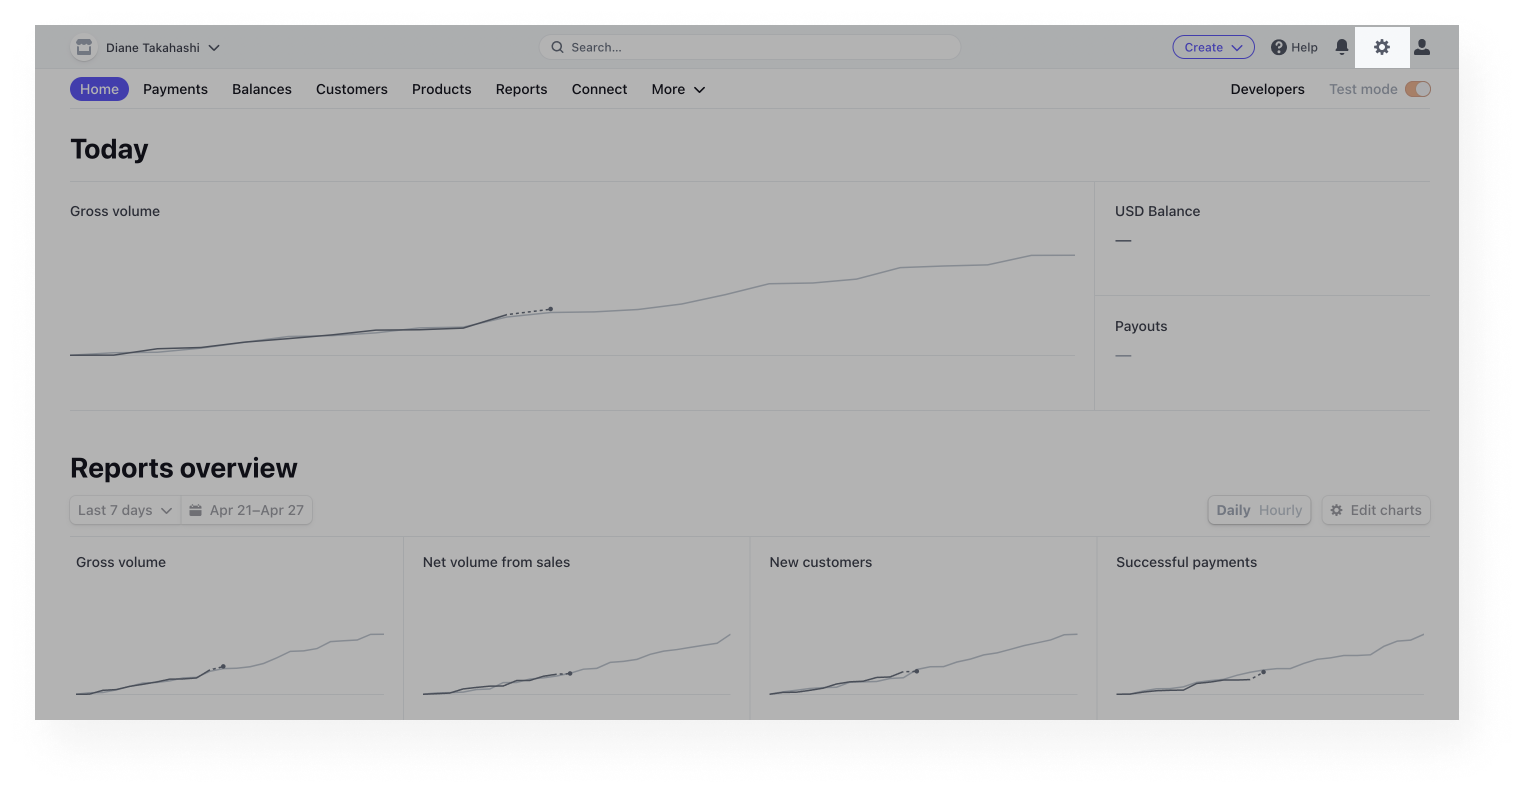
- Sign in to your Stripe account and click the Settings cog in the top right corner.
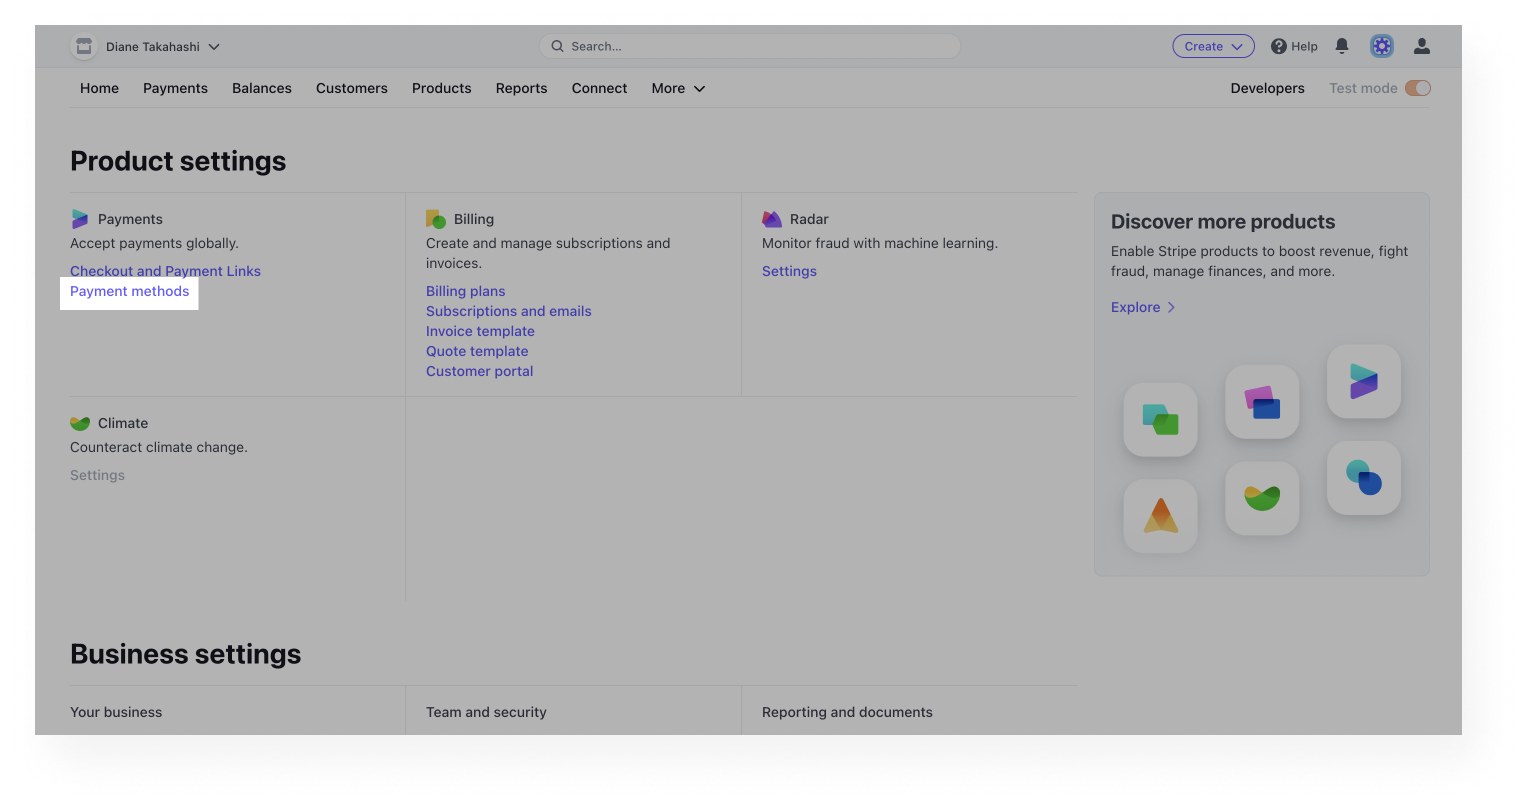
- Locate the Payments section and select Payment methods.
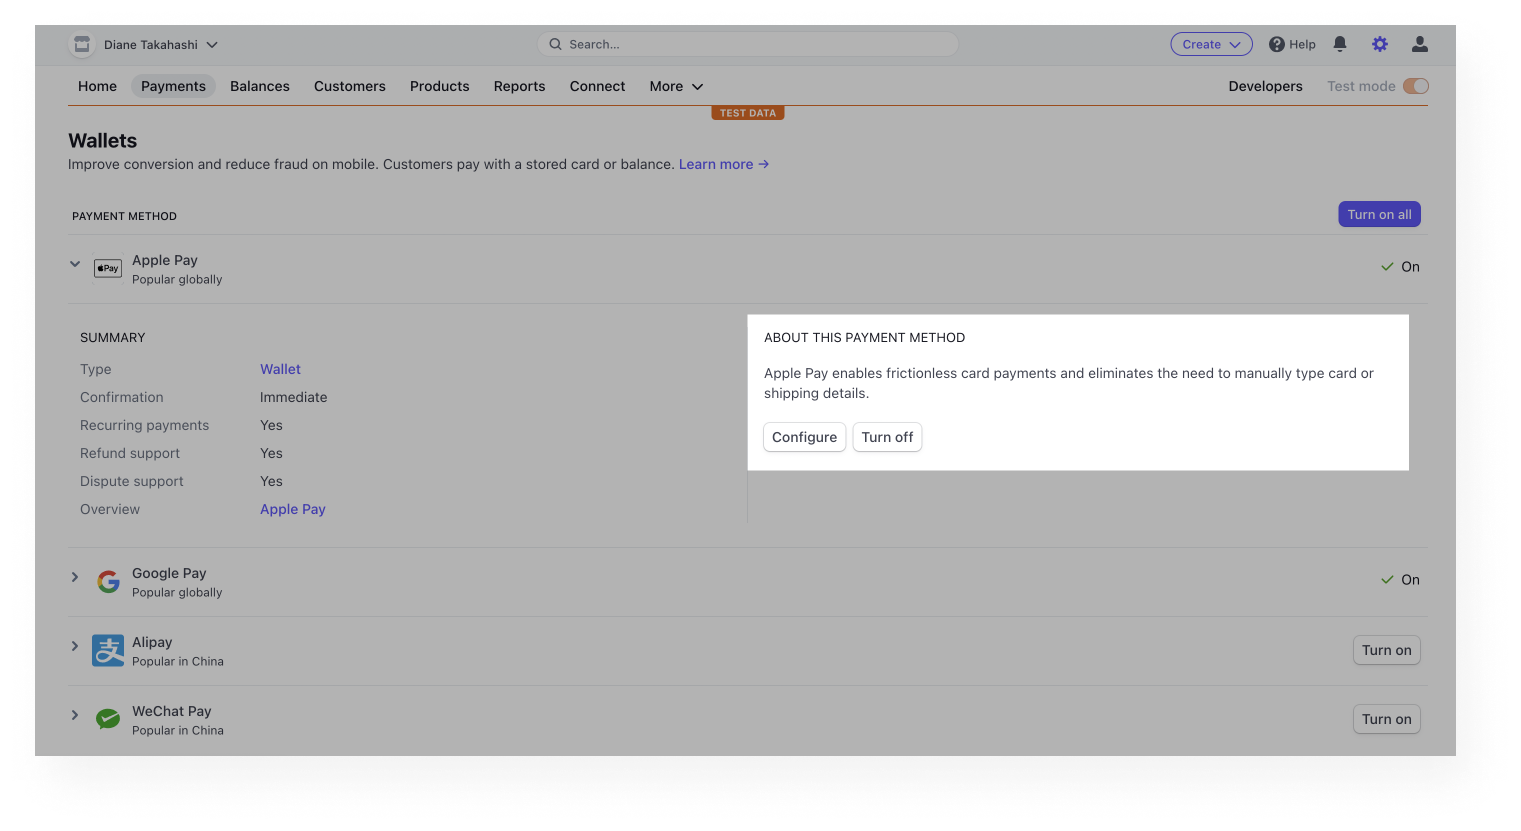
- On the Payment methods page, scroll down to the Wallets section and select Apple Pay. You do not need to configure Google Pay.
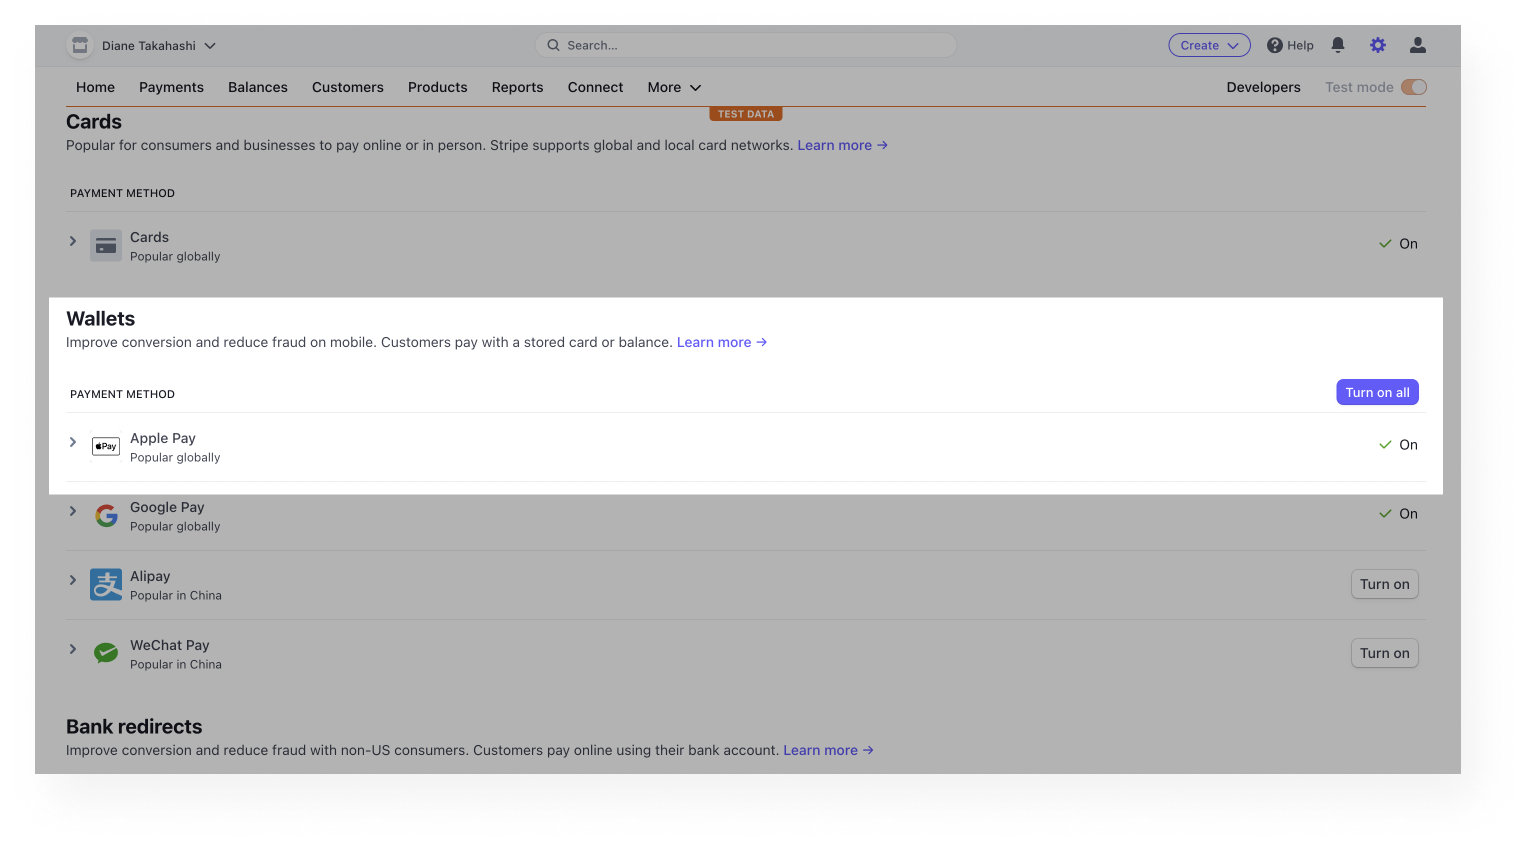
- In the drop-down, click Configure. You will be redirected to the Apple Pay settings page.
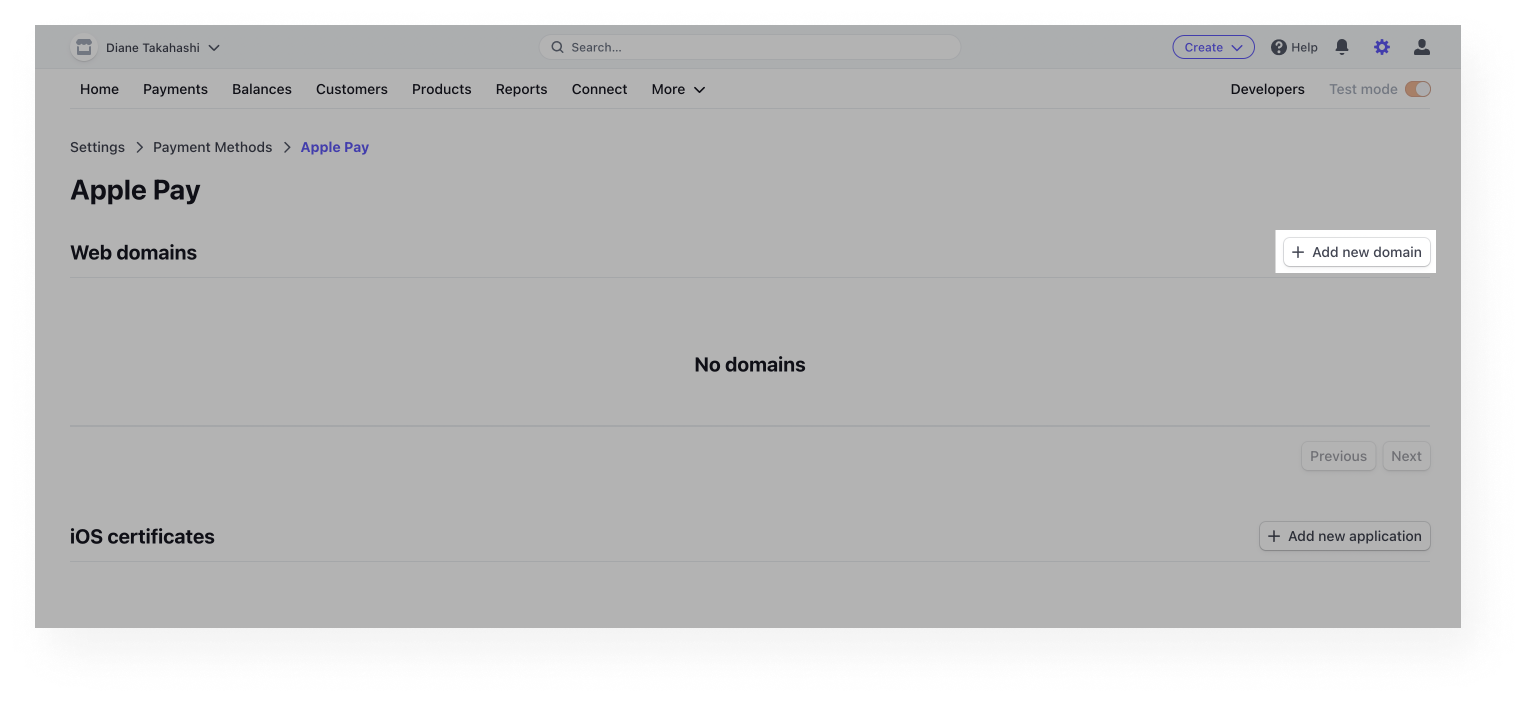
- On the Apple Pay settings page, click +Add new domain.
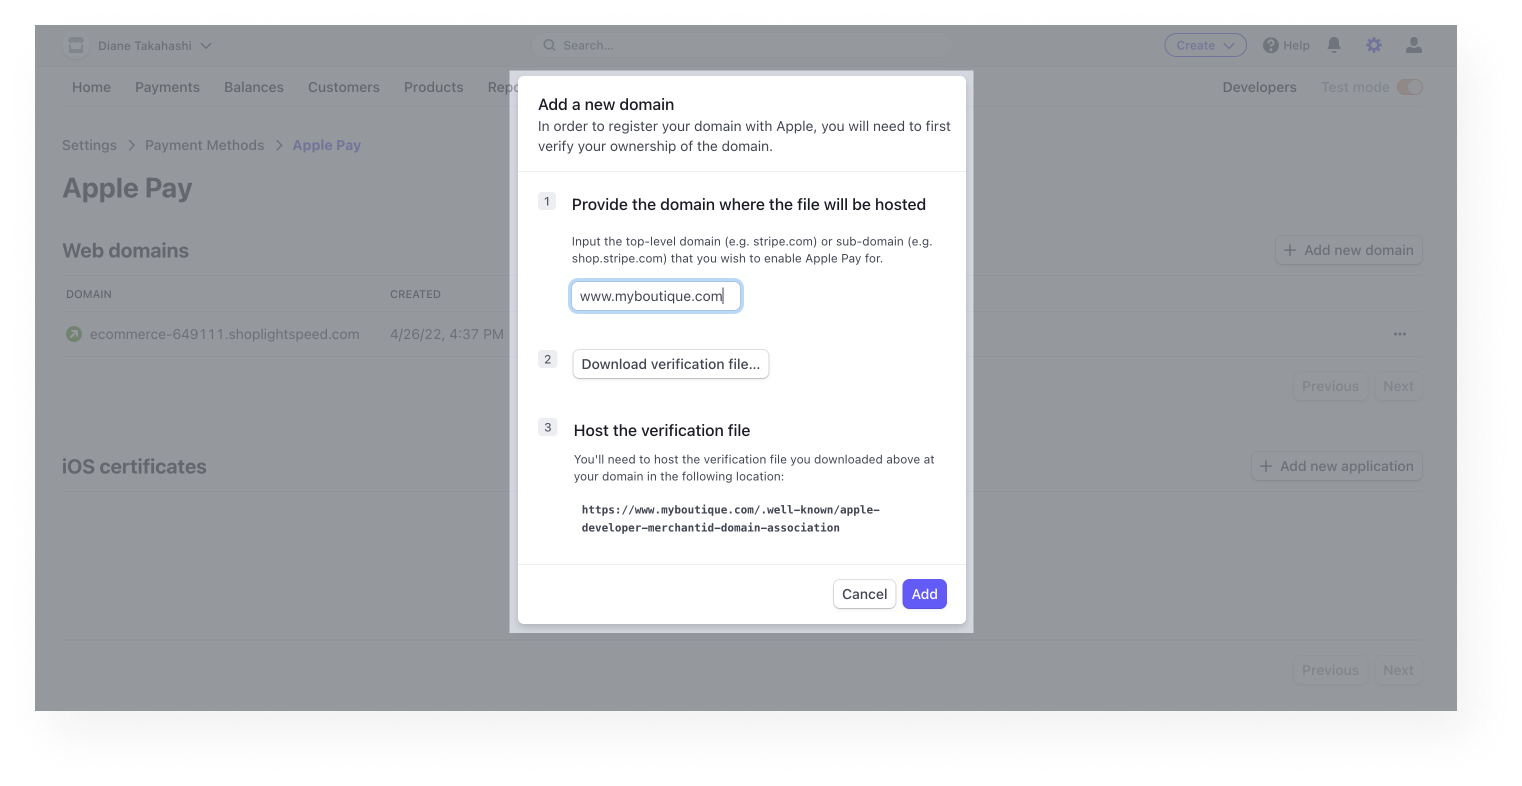
- Enter your website domain in step 1. Then, click Add.
Note: Skip steps 2 and 3. You do not need to download the verification file, Lightspeed does this for you automatically.
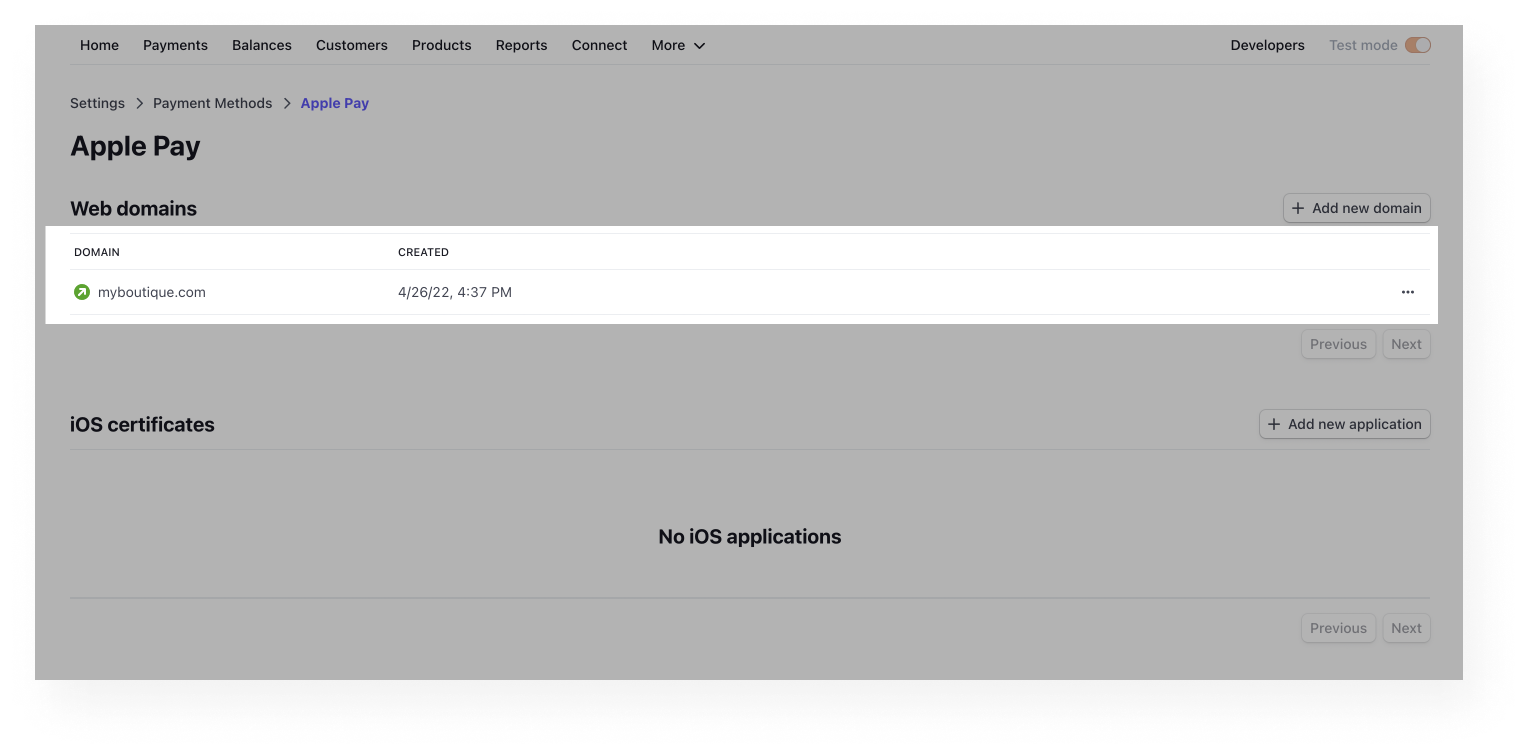
Stripe will automatically verify your website domain.
Step 2: Enable digital wallet in your eCom back office
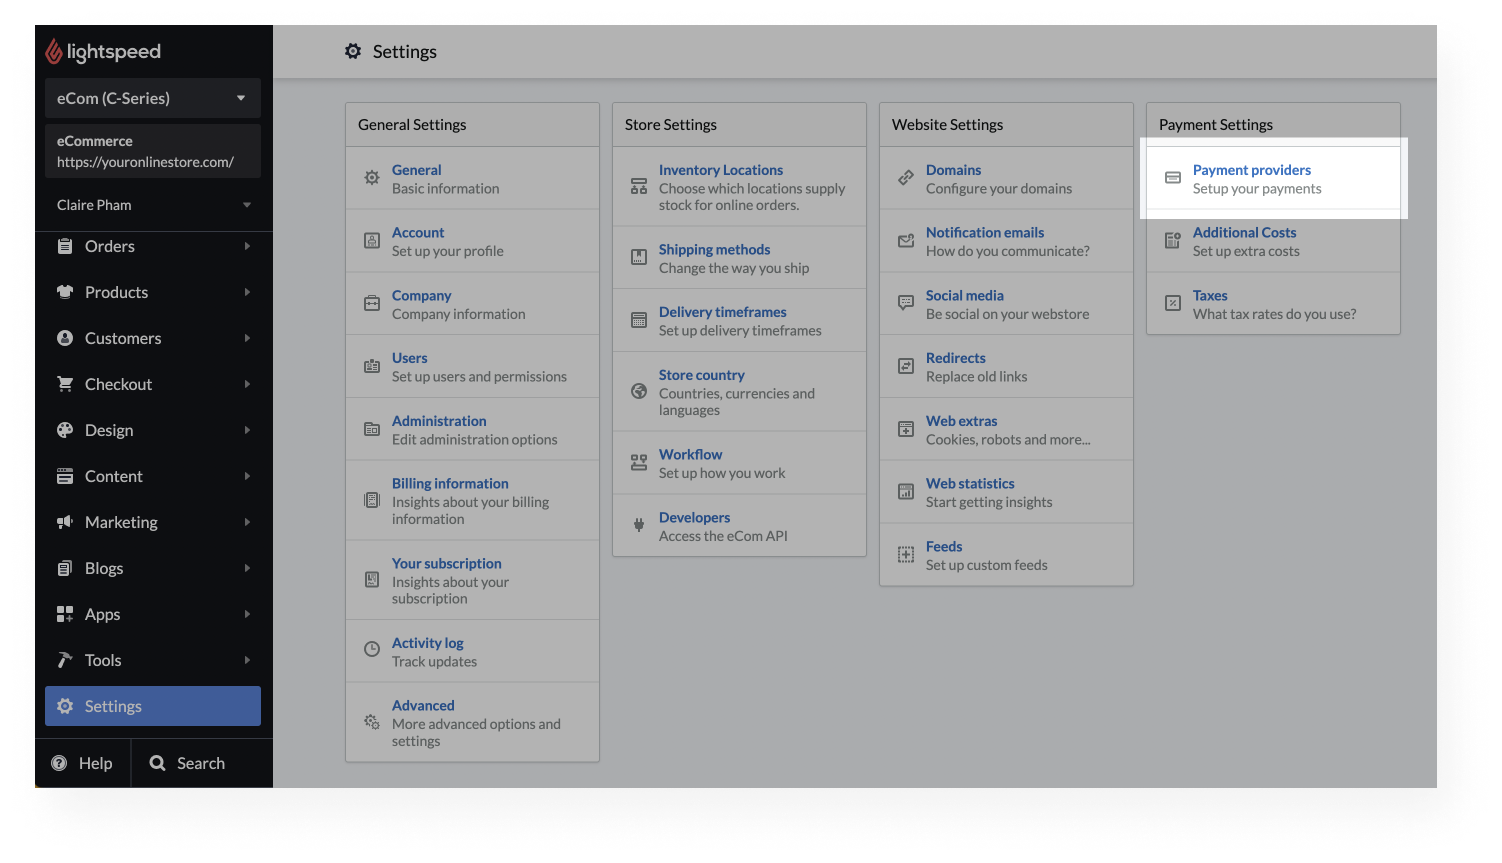
- After you enable digital wallet in your Stripe dashboard, sign in to your eCom back office. Navigate to Settings > Payment providers.
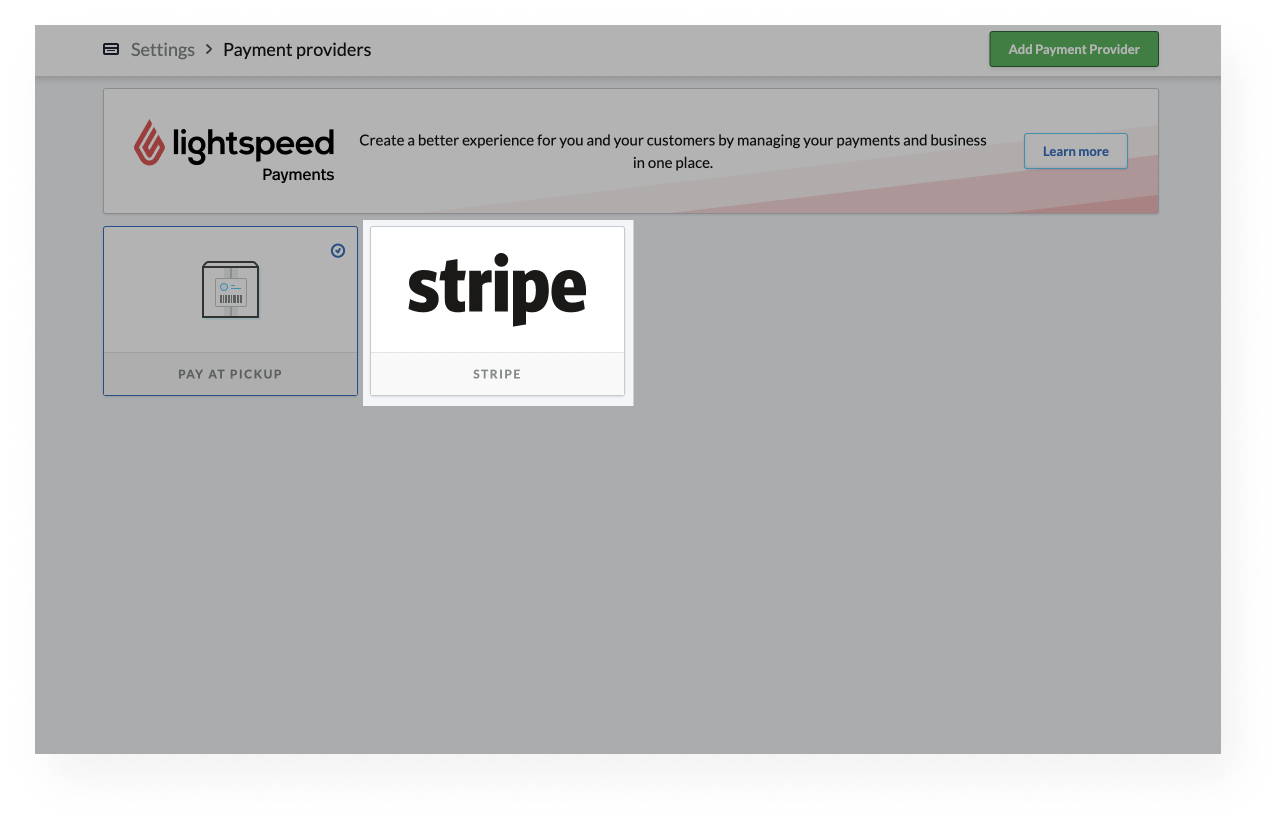
- Select Stripe. If you don't see Stripe, visit our Setting up Stripe article for help adding it as a payment method.
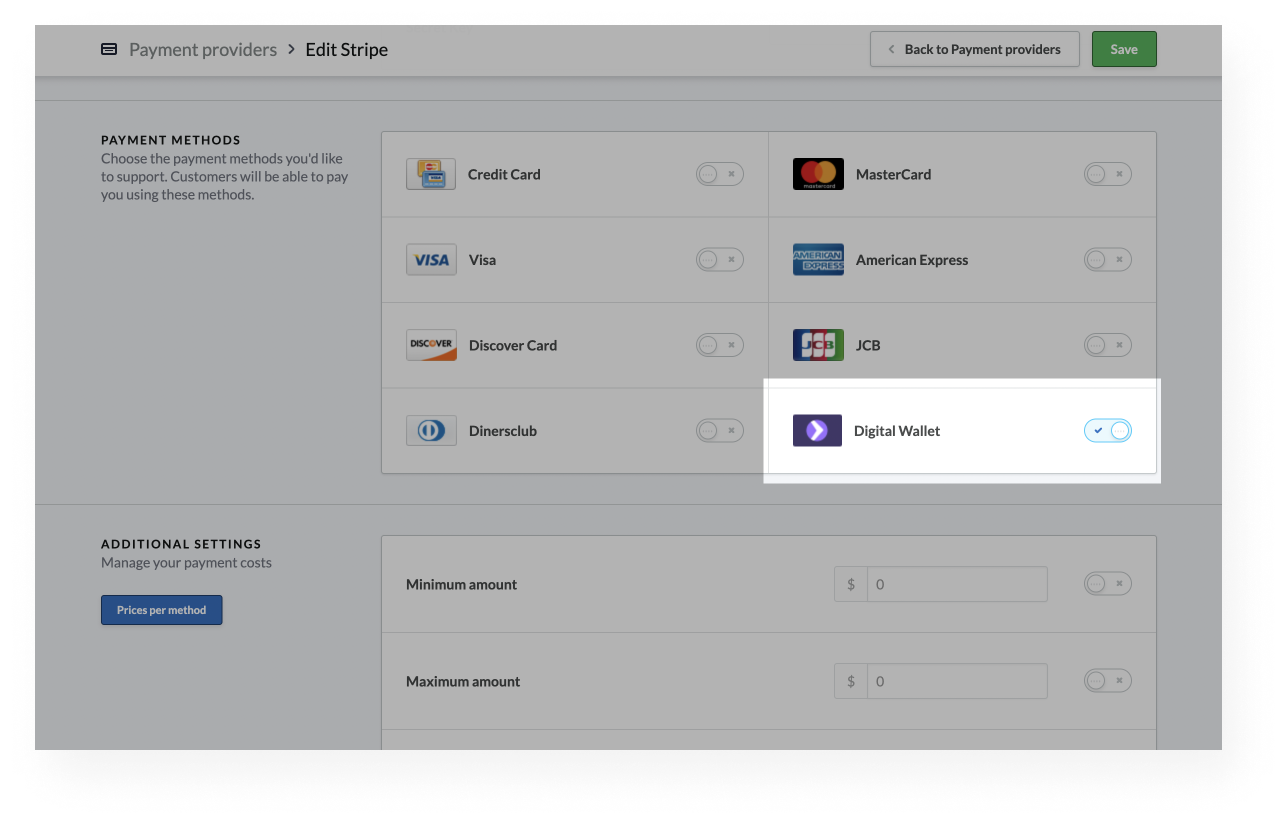
- Under PAYMENT METHODS, click the toggle to enable Digital wallet.
How do my customers set up Apple Pay or Google Pay?
In addition to active Apple Pay and Google Pay accounts, your customers must use the correct corresponding browsers.
If a customer wants to use Apple Pay, they need to:
- Set up Apple Pay.
- Use the Safari browser.
If a customer wants to use Google Pay, they need to:
- Set up Google Pay.
- Use the Chrome browser.
How are the Apple Pay and Google Pay buttons displayed at checkout?
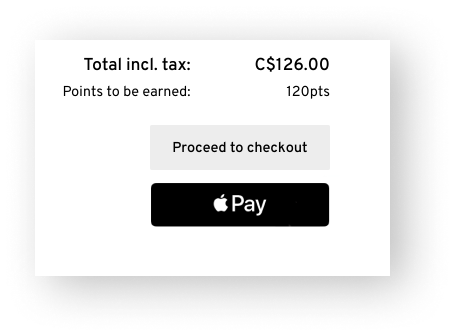
The Apple Pay button displays the Apple logo followed by the word "Pay". It doesn't display a call to action like "Pay now", so it's not necessary to translate it for your customers.
The Google Pay button displays the call to action "Pay now". This does need to be translated. If a customer is using a Windows computer, the button is translated according to the default language of the browser. If a customer is using a Mac or Linux computer, the button is translated according to the default language of the operating system. Changing the default language of your eCom store will not translate the Google Pay button.
