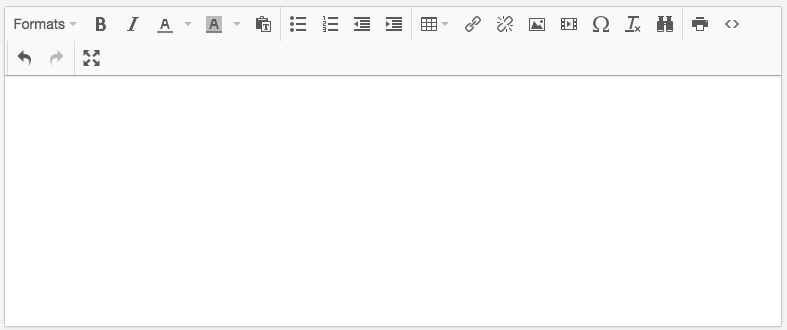
Use the text editor to easily edit text, and add graphics, hyperlinks and videos.
The text editor field has a limit of 65,532 characters.
- Formats:
- Headings - Used by search engines to index the your web pages. Also useful for your customers when they skim your content. Heading 1 should be used for main headings, followed by Heading 2, then the less important Heading 3 and so on. It is not recommended that you use H1 headings in your content because the page title is already the primary heading for your content.
NOTE: Use HTML headings for headings only. Instead of using headings to make text BIG or bold, use the below styling elements.
- Inline
- B - Make text bold
- I - Make text italic
- U - Underline text
- S -
Strikethroughtext - Superscript - Numbers positioned a little higher than line text.
- Subscript - Numbers positioned a little lower than line text.
- Code - a phrase tag used to define a piece of computer code by styling the text differently.
- Block - HTML adjustments
- Paragraph - make a piece of text as paragraph
- Blockquote - quotes
- Div - Create a div
- Pre - Preformatted text
- Alignment - Align left (default), center, align right and justify (equal line lengths).
- B - Make text bold
- I - Make text italic
- Bullet points - Use bullet points to create lists. You can only use the closed round (black) globules.
- Numbering - Use digits to create ordered lists.
- Text indents - Create one or more text indents. The indent size cannot be set.
- Reduce indent - Create a text indent or reduce its size (with multiple indents).
- Add table - Add a table to a text. Clicking this button or inside a table will open a menu:
- Table style - You can style a table, row or cell by clicking or highlighting the table/row/cell(s) that you want to style, clicking the table icon then clicking:
- Table properties
- Row > Row properties
- Cell > Cell properties.
Any style changes made here may be overridden by your theme's code. So, if you make a change to your table's style and it doesn't display on your webpage, you may need to edit your theme's code or CSS to make a change. For more information, click here. - Table style options - In both the General and Advanced tabs the settings can specify:
- Width, Height - the width or height of the table and/or its cells by entering a percentage or number of pixels with the units px. For example, 80% or 200px.
- Cell spacing - the space, in pixels (px), between cells.
- Cell padding - the space, in pixels (px), between the cell wall and the cell content.
- Border - the border thickness, in pixels (px).
- Caption - if a caption appears above the table, edit the source code to add caption text between the HTML:
<caption> </caption> - Alignment - the justification of the table on the page or the text in the row.
- Style - the HTML added to the source code based on the changes made to the properties.
- Border style - the appearance of the border.
- Border color - the color of the border.
- Background color - the color of the background of the cell, row or table.
- Row type - if the row is a header, body or footer row.
- Cell type - whether the cell is formatted as a header or as a body cell.
- Scope - defines a way to associate header cells and data cells in a table. It identifies whether a cell is a header for a column, row, or group of columns or rows. It has no visual effect in ordinary web browsers, but can be used by screen readers.
- H Align - how the text is horizontally justified inside the cell.
- V Align - how the text is vertically justified inside the cell.
- Add hyperlink - Change text into a hyperlink. See Adding a PDF how to create a hyperlink and add a PDF.
- Remove hyperlink - Change a link back to plain text.
- Insert/edit image & Insert/edit media - Add an image or video through a URL or file located in your eCom Back Office > Tools > Files. Visit Uploading files for more information.
- HTML - HTML editor for texts. You can use HTML code to modify text according to your preferences.