Effort in this section contributes directly to tasks in the next six sessions. To ensure you can proceed through each session, make sure to complete each step in this article.
All the getting started steps for eCom are summarized in this getting started checklist.
Check your eCom version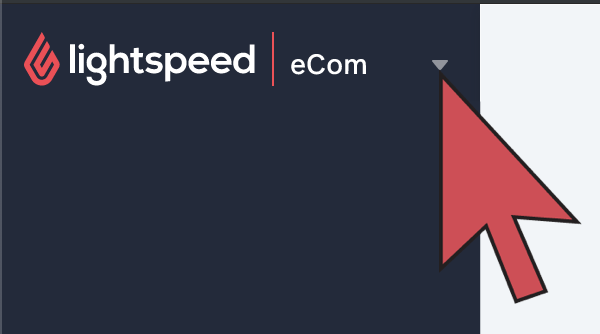
The two versions of Lightspeed eCom are identified by whether or not they're connected to Lightspeed Retail. These getting started instructions are different for each version. Complete this step to ensure you're reading the correct instructions.
Checking your eCom version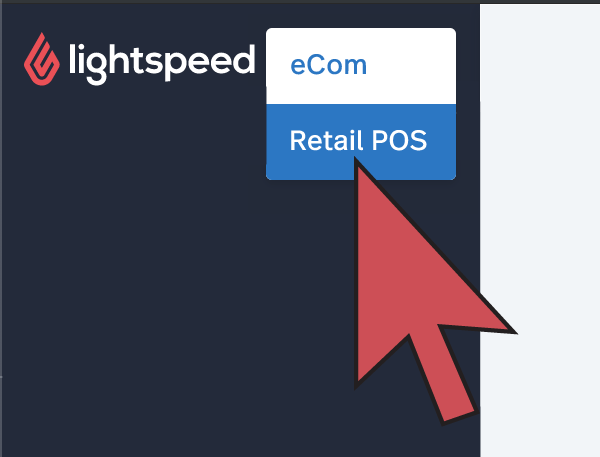
- Login to your eCom Back Office.
- In the sidebar at the top left-hand side of the screen, check for the down arrow (▽) symbol.
If you have a down arrow that when clicked expands to show eCom and Retail, read this article instead. Otherwise, continue with the steps in this article.
Create 8 products
For expediency, showcase only a few of your best products. More products can be added later. In this step, focus only on creating products. Further product setup will be completed in a future session.
Prerequisites
To make future setup sessions easier, create products based on these characteristics:
- Create products that are:
- Related to each other
- Available in your inventory
- Ready to be sold
- Ready to be shipped
- Representative of your store brand
- Create products that can have content created by you or obtained from manufacturers. In later sessions the required content will include:
- Images
- Product summaries (1 - 2 sentences)
- Elaborated product descriptions (1 - 2 paragraphs)
Creating 8 products
- Log in to your eCom Back Office and click Products.
- Click Add Product.
- Ensure you select Visible when in stock from the dropdown menu labeled Visibility.
- Enter the product's name, its price, and quantity and click Continue. The description and content will be added in a later session. You're finished creating the product.
- Repeat these steps for the remaining 7 products.
For more information about creating products, click here. To learn how to create product matrices, click here.
Create categories
Categories on your eCom store are the main navigation and how your customers will locate your products from your homepage. Focus only on creating them at the moment, as further category setup will be completed in a future session.
Creating categories
- From your eCom Back Office, click Products.
- Click Categories from the menu on the left-hand side of your screen.
- Click Add Category.
- Enter the name of your category that summarizes how some of your products relate to each other.
- Click Save.
- Repeat these steps until all your products can be added to a category.
For more information on creating categories, click here.
Create brands
In order to have a complete looking eCom store, you should make sure brands are described in your eCom store. Focus only on creating brands at the moment, as further brand setup will be completed in a future session.
Creating brands
- From your eCom Back Office, click Products.
- Click Brands from the menu on the left-hand side of your screen.
- Click Add brand and enter the name of a brand in the field labeled title.
- Click Save.
- Repeat these steps for all the brands of your products.
For more information on creating brands, click here.
Choose a payment method and request credentials
A payment method makes it possible for your customers to pay for their orders. Sign up during this session to make credentials available for a future session.
- Click here to review the payment providers available in your region.
- Visit the payment provider's website and shop for rates.
- Once you've chosen a payment provider, sign up with them.
- When you receive your credentials, save them in a safe place as they will be required later.
Purchase or confirm your custom web address
A custom web address, also known as your custom domain, is a very important part of your eCom store. It's your eCom store's internet identity and is required to rank highly in search results from search engines. Obtain a domain from a domain provider.
Obtaining your custom domain
- If you already own a custom web address, make sure you can log in to the domain provider. This will be required later.
- If you need a custom domain, you can purchase one from a domain provider. Common domain providers are:
For more information about buying your domain, click here.
Gather images
Quality images greatly impact the conversion of traffic into purchases.
Prerequisites
- Take photos of your 8 products.
- Select images that are within the eCom image limits.
Gathering images
Save the following images to a file on your computer for later sessions:
- A good-quality logo that represents your business well
- At least one good-quality image to be used as a banner on your homepage
- Product images from the manufacturers (If available)
- Photos you've taken of your eight products
- Images to represent the category that are visible on your website
- Brand logos
Decide on shipping strategy
The way you choose to ship orders depends on your shipping strategy. To facilitate future sessions, decide on your shipping strategy now.
Deciding on a shipping strategy
- Read the article located here to:
- Learn about the available shipping types
- Select a shipping strategy
- Research shipping providers
- Source packaging materials
- Note your preferred shipping strategy.
You've completed Session 1, begin Session 2 here.