The product screen contains various sections and we will cover each one of them in this article. Wherever possible, select to see the examples or the available link for more information.
Note: Not all product details must be completed, as it depends on your own shop's requirements.
Product statistics
View statistics that describe the product, including when the product was created or how many times it has been viewed by your customers. Visit Viewing your eCom statistics for more information.
View in Store
The View in Store button appears in the back office on the top left side of the product screen.
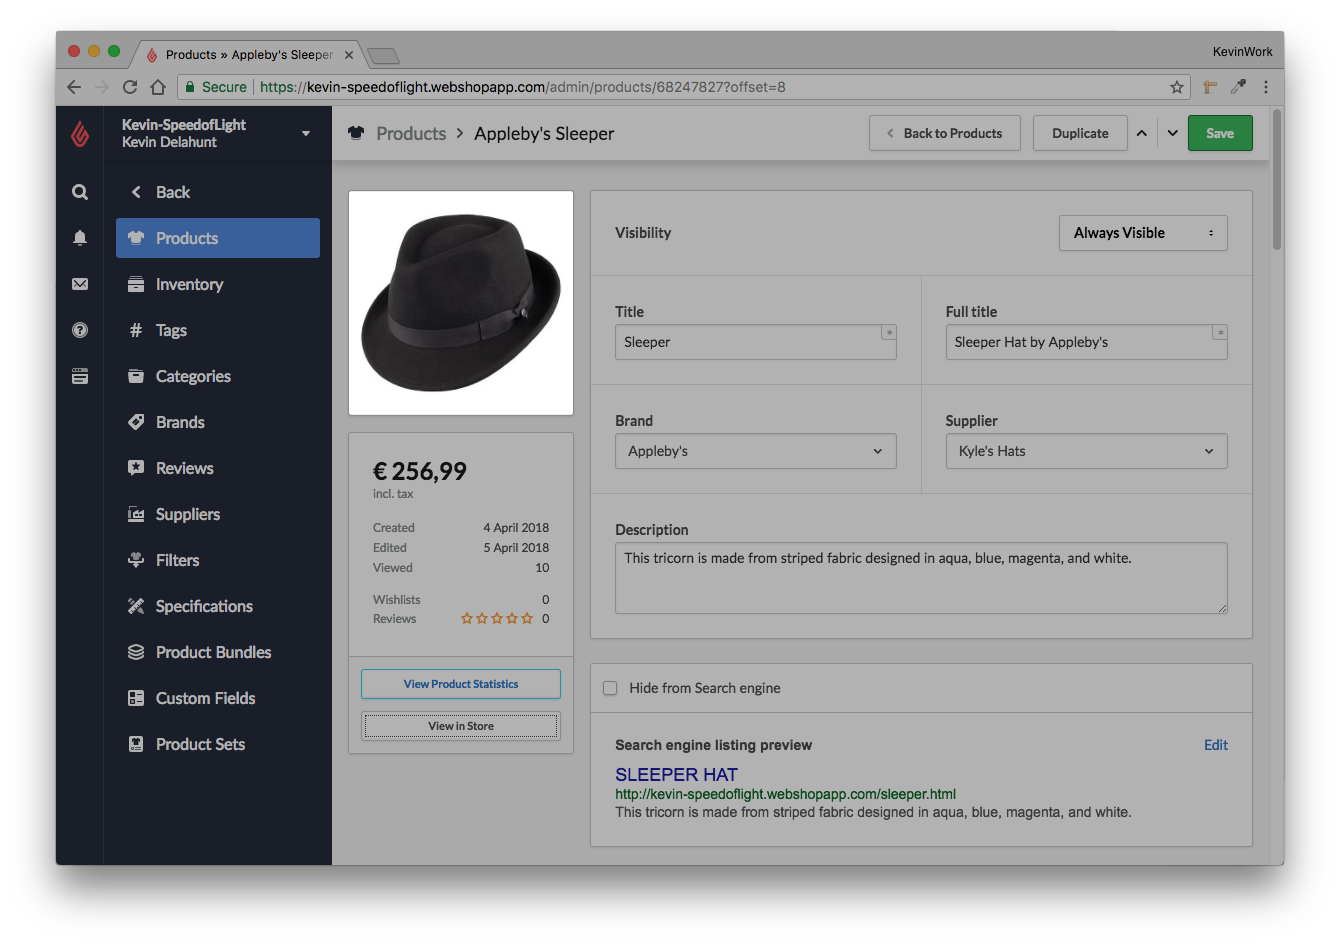
Upload an image
You can see the default product image at the top left of the product screen. You can upload a product's first image into this area or manage your images via the IMAGES section of the product settings. Before adding the image:
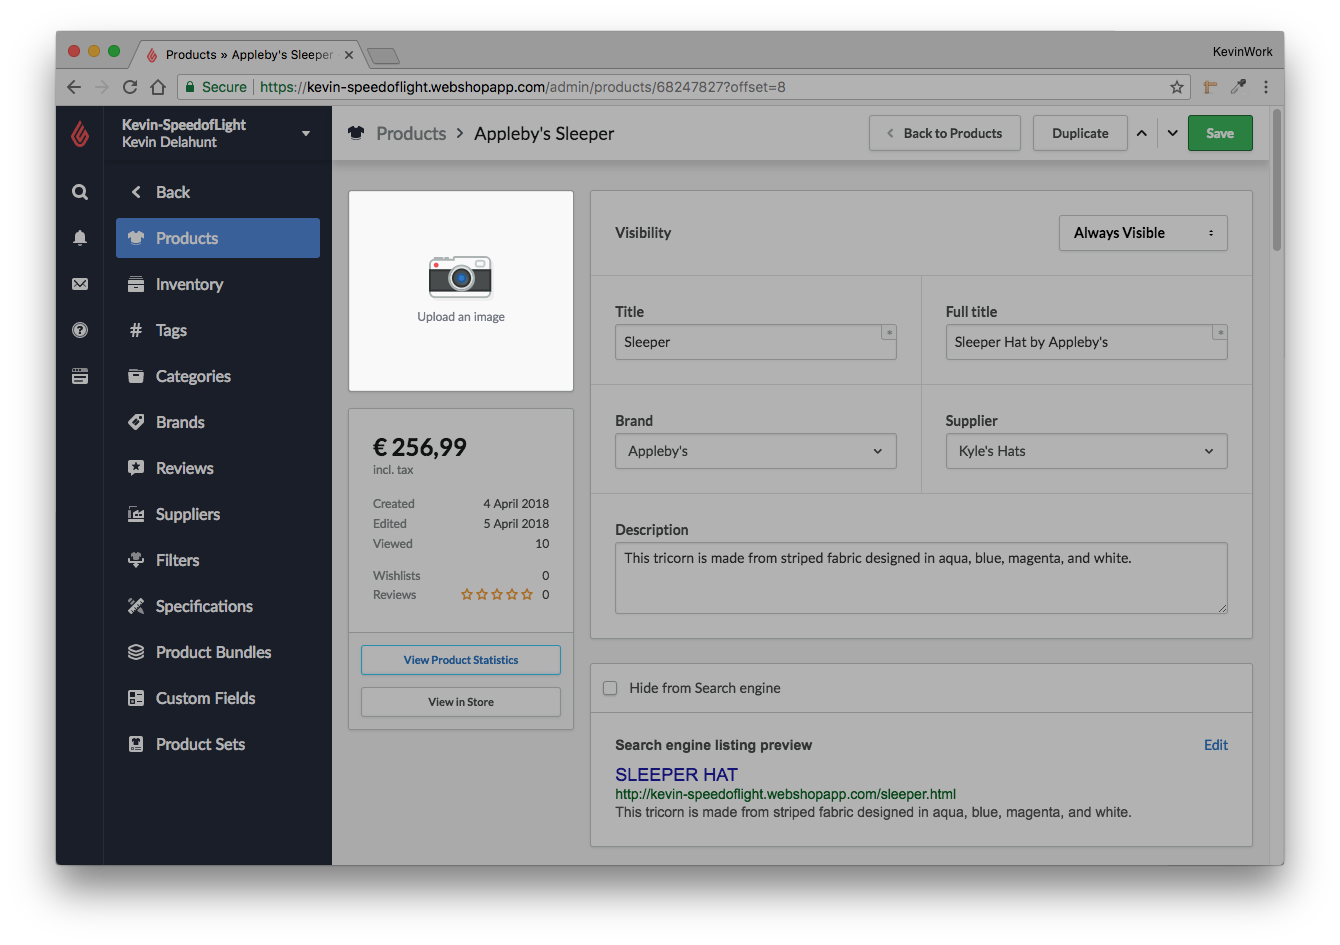
After adding the image:
Note: If your eCom is connected to a Retail POS, you can also opt for adding images on the Retail side so they sync to eCom with your products. In this case, only main product images will sync, variant images will still need to be manually added directly in eCom. For further instructions, read Adding product images for eCom.
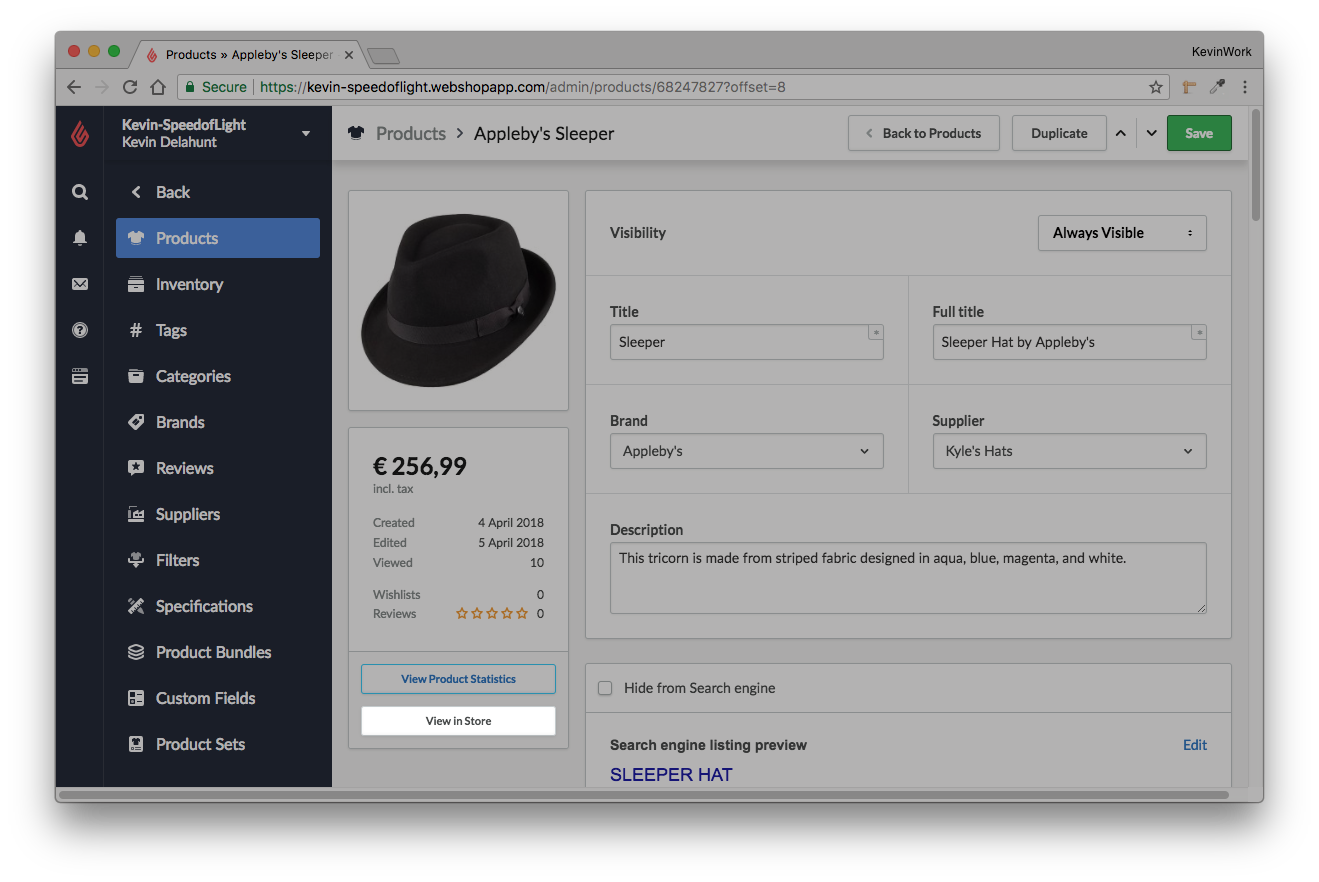
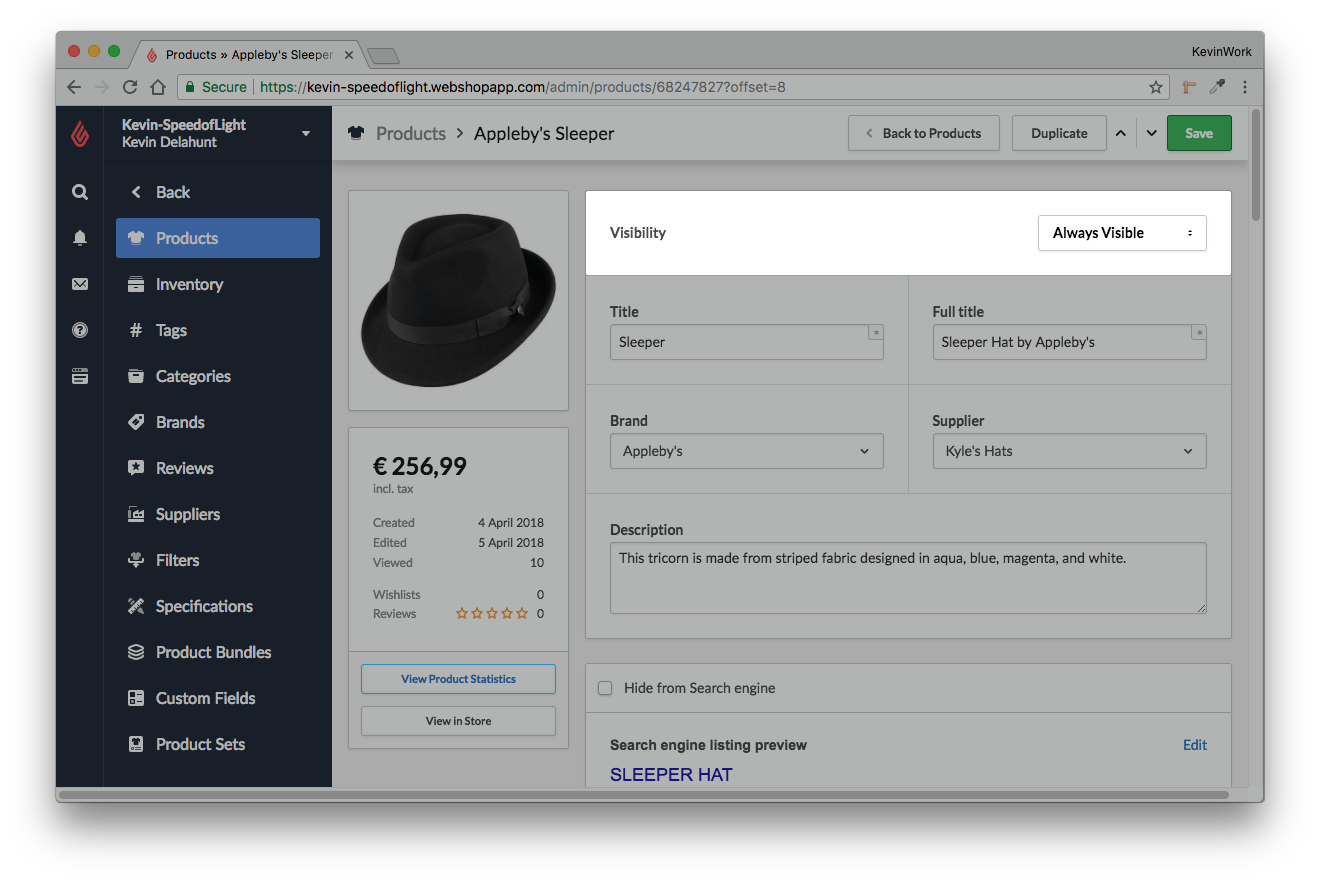
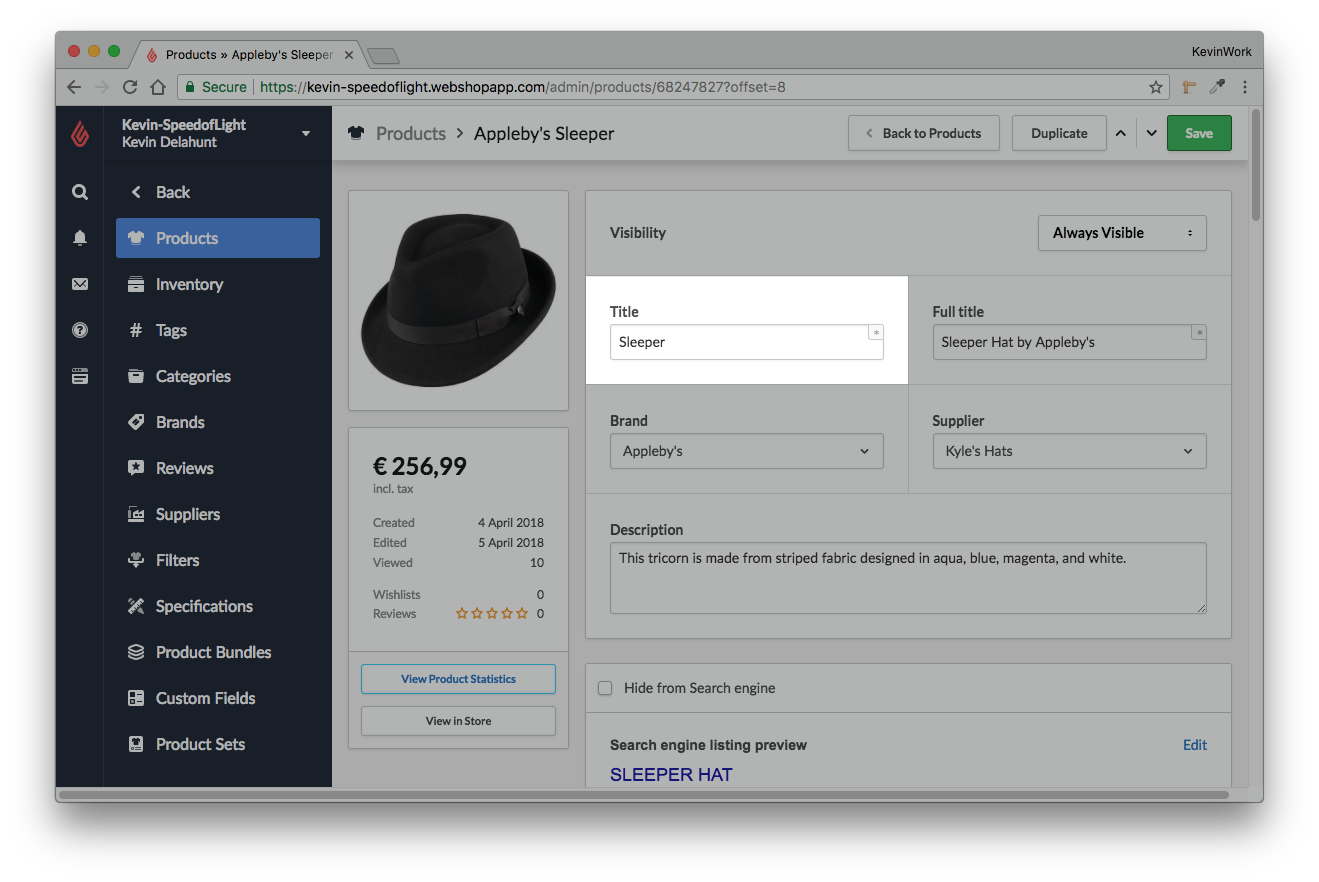
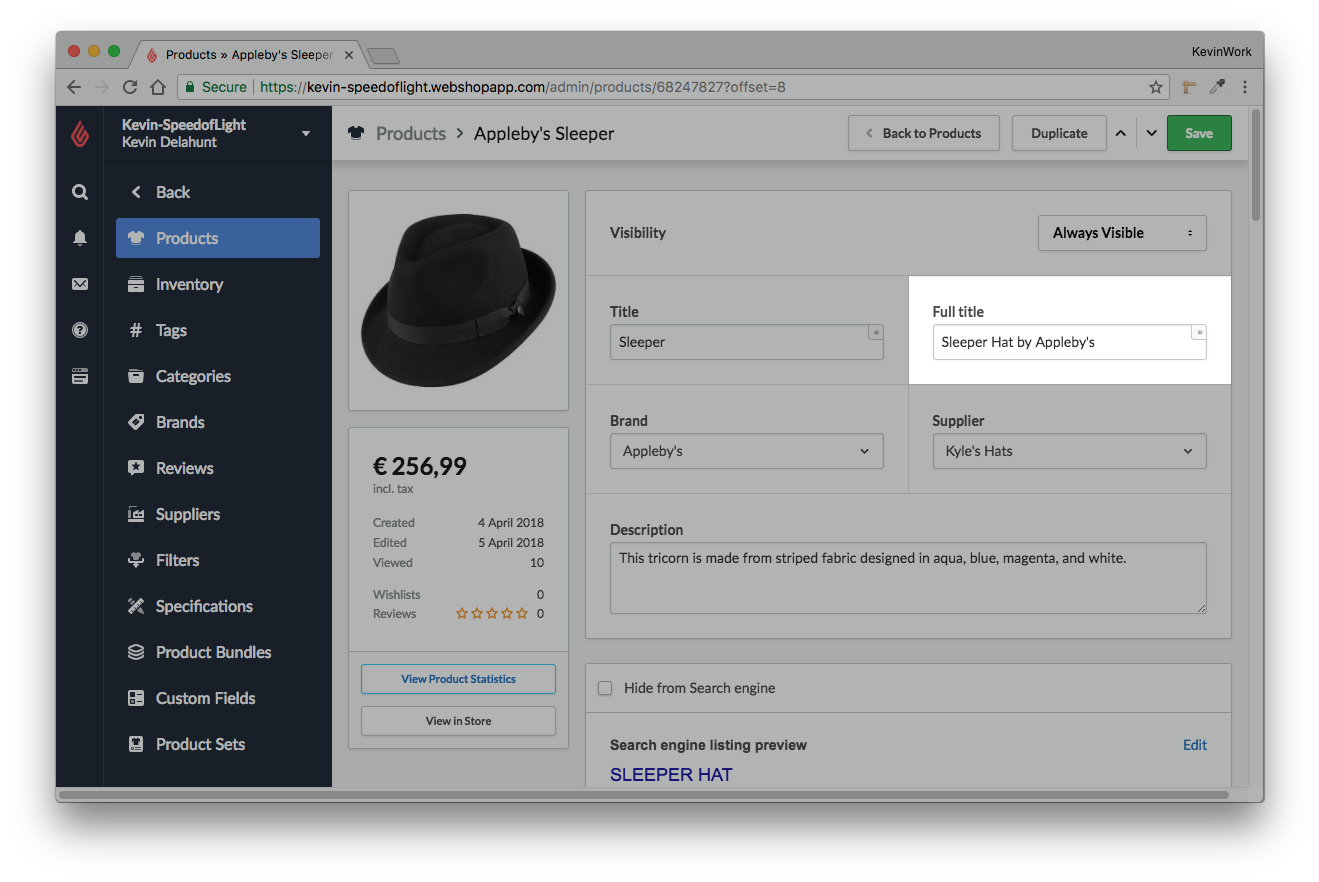
Visibility
You can control when your customers can see a product in your online store by adjusting its visibility. For more information about product visibility, see Adjusting product visibility.
You can find the visibility setting in the back office at the top of any product page.
Title and full title
Title - The main product title, used in sections with limited space on your webpage, such as product listings. This title is also used to define the product's initial web address. Read Managing product SEO data for more information.
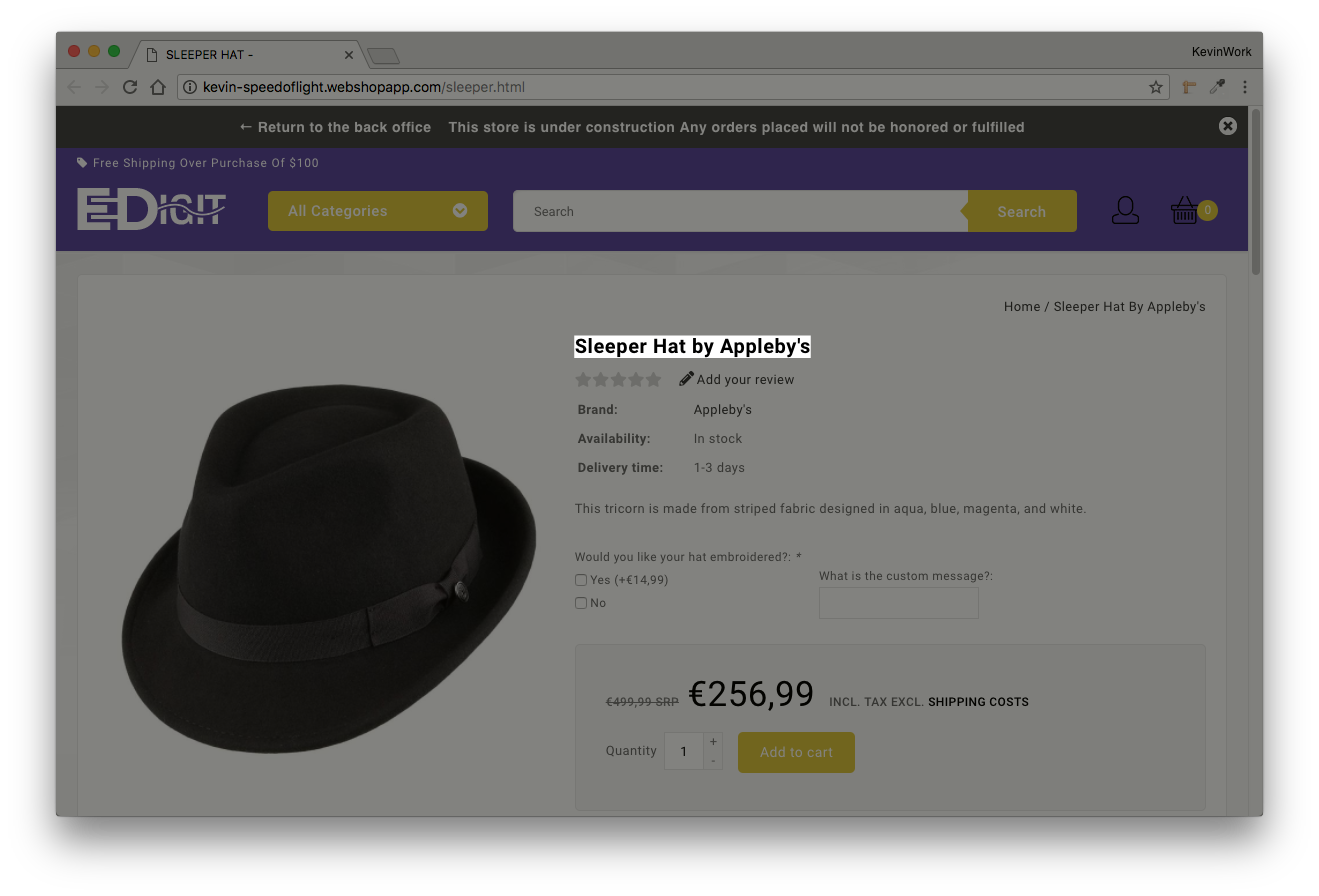
Full title - A title with more details, displayed on the product page where there is more space dedicated to this information.
Title
In the back office:
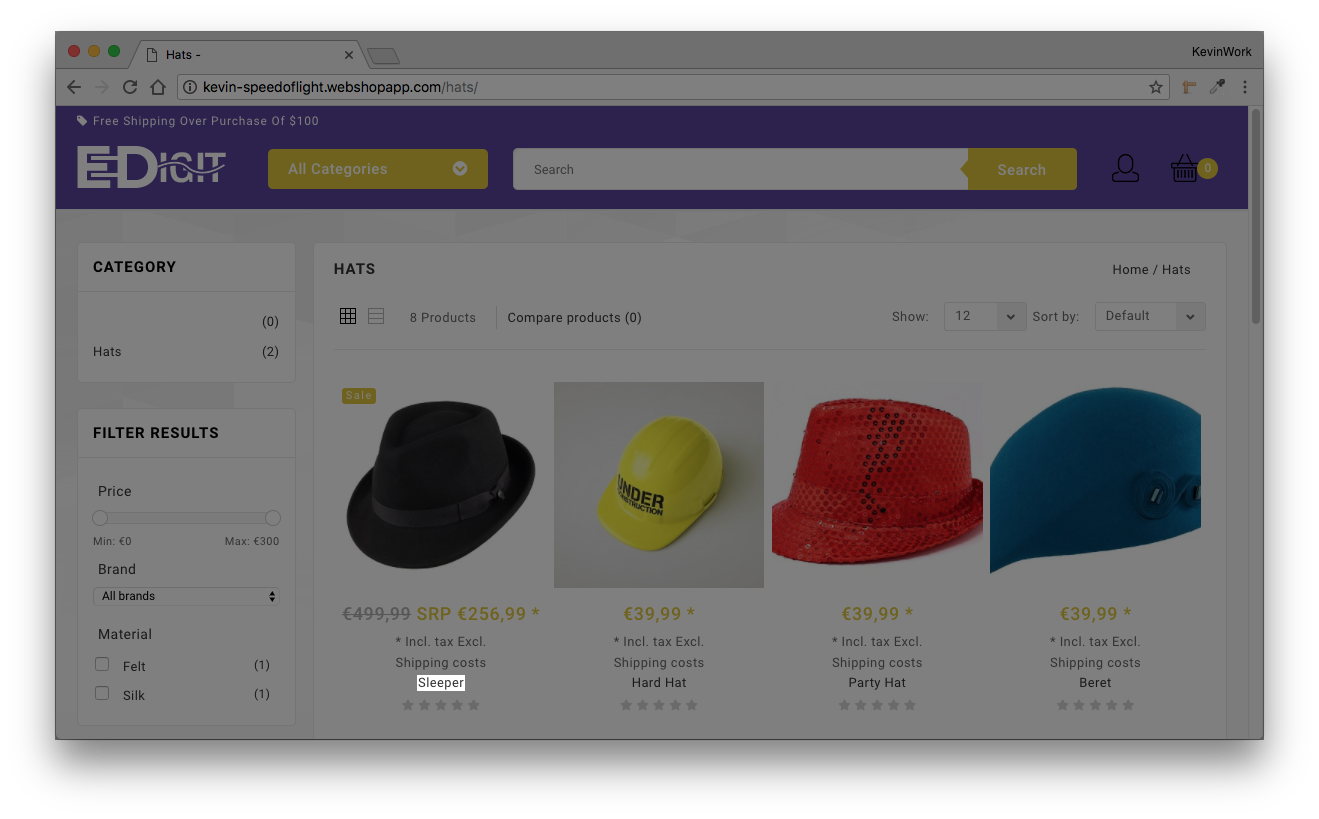
In a list of products or category page on your website:
Full title
In the back office:
 In a list of products or category page on your website:
Brand and supplier
Brand - Select a brand from the list or add one by typing its name. For more information see Adding brands.
Supplier - Select a supplier from the list or add one by typing its name. For more information see Adding suppliers.
Note: If your eCom store is connected to a Retail POS, brands and suppliers are added and managed on the Retail side. In this case, see Adding brands (Retail) and Adding items (Retail) for instructions.
Description
Enter a product description up to 256 alphanumeric characters. Some themes display the description on the product page.
- For a longer description that will always be visible on the product page and can support images and formatting, consider using the Content area.
- When you first save a description, it will be saved as a meta description for search engines. Read Managing product SEO data for more information.
The description is found in the back office at the top of the product page, below Brand and Supplier.
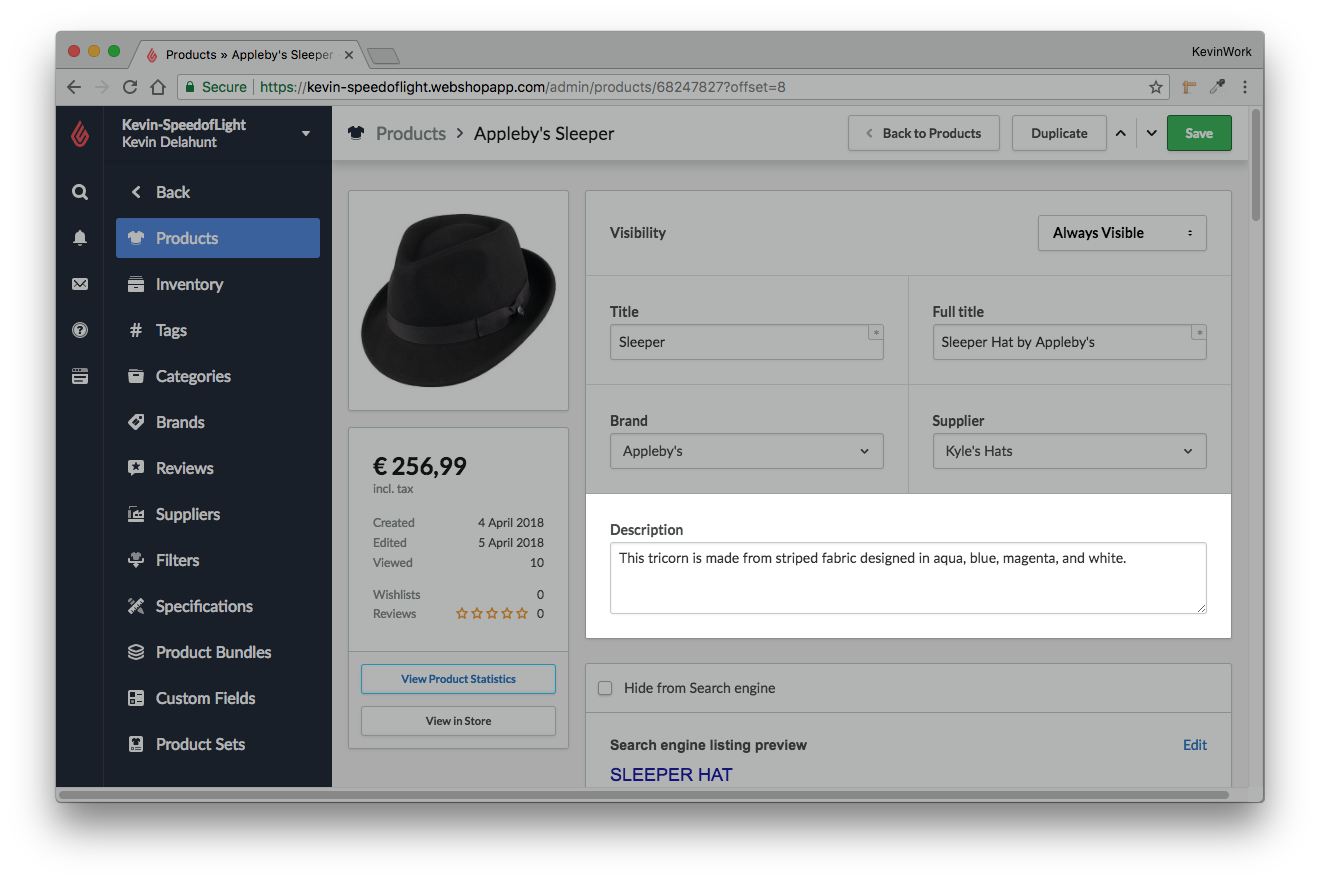 Search engines
Lightspeed eCom will automatically define how your product will appear in search engines. You can see how it will appear by looking at the preview, where the title, URL and description are based on the product's title and description. To learn how to edit the search engine information, visit Managing product SEO data.
Delivery time
Enter the expected delivery time of the product so customers know when they will likely receive their order. For more information, read Adding delivery times.
Content
Tell your customers more about the product. The information you enter here appears in the Information tab of the product page. Avoid descriptions provided by suppliers and prefer using your own text. Unique content is important because it increases the visibility of the product and of your website. See Using the Text Editor for more information.
Inventory & variants
When a new product is created, eCom creates a single default variant that contains many inventory settings related to the product as a whole. These inventory settings include:
- Prices
- Weight
- Manual Taxes
- Identification codes
- Stock level
Note: Variants are counted in the product limit of your subscription. For example, if you're subscribed to the Essential package, with 250 products, and you assign 15 variants to a product, you have 235 products remaining.
Learn how to:
- Create variants
- Manage variants from the product page
- Configure a variant
- Manage the default settings for variants
Images
You can add images to variants by uploading them to the designated space with the plus icon. In order to add variant images, you first need to add them into the product's IMAGE section.
See Adding product images and Matching variants and images for more information.
Product set
Using product sets, you can offer your customers a variety of options for a product. You can find more information in the Creating product sets and Creating product variants articles.
Category
Organize your inventory in categories, so they can appear clearly and conveniently for customers. This helps them quickly find what they're looking for and can increase your turnover. To create categories and add products to them, see Creating categories.
Tags
Add new or existing tags to the product. You can add multiple tags at once, separating them by commas. See Creating tags for more information.
Filters
Adding filters to your products makes them appear in search results when customers filter their searches with one of these values. Visit Adding filters for more information.
Quantity discounts
Quantity discounts encourage customers to order the same product variant several times. With discounts, the more a product is purchased, the cheaper it will become. You can configure several quantity discounts per product by following the instructions in Adding quantity discounts to products.
Specifications
Specifications give an overview of the features of a product and are therefore mostly used for electronic products. You can create specifications that are displayed in the Specifications tab of product pages. For example: Screen: 13 inch.
Note: Specifications are not available in every theme. Visit Creating specifications for more information.
Custom fields
Custom fields are product options such as sizes, colors, input fields for engraving or printing, for example. Unlike product variants, no new products with their own inventory management are created when you add custom fields. Read Creating custom fields and Product sets vs Custom fields for more information.
Related products
Related products are usually items that are often purchased together or searched along with others. They show up in the shopping cart and on product pages, depending on your theme. You can add a maximum of five related products. Visit Adding related products for more information.
Custom data fields
Custom template data determine elements at a product level on your website. It allows you to add more functionality to your product pages and the product type category. Visit Modifying the custom template for more information.