Creating a product set is a faster way add the same variants to multiple products. For instructions on how to add a single variant to a product, visit Creating variants.
Creating a product set
- On the left menu of the Back Office go to Products > Product sets and at the top of the screen click Add a product set.
- Enter a Title for the product set, for example, t-shirts.
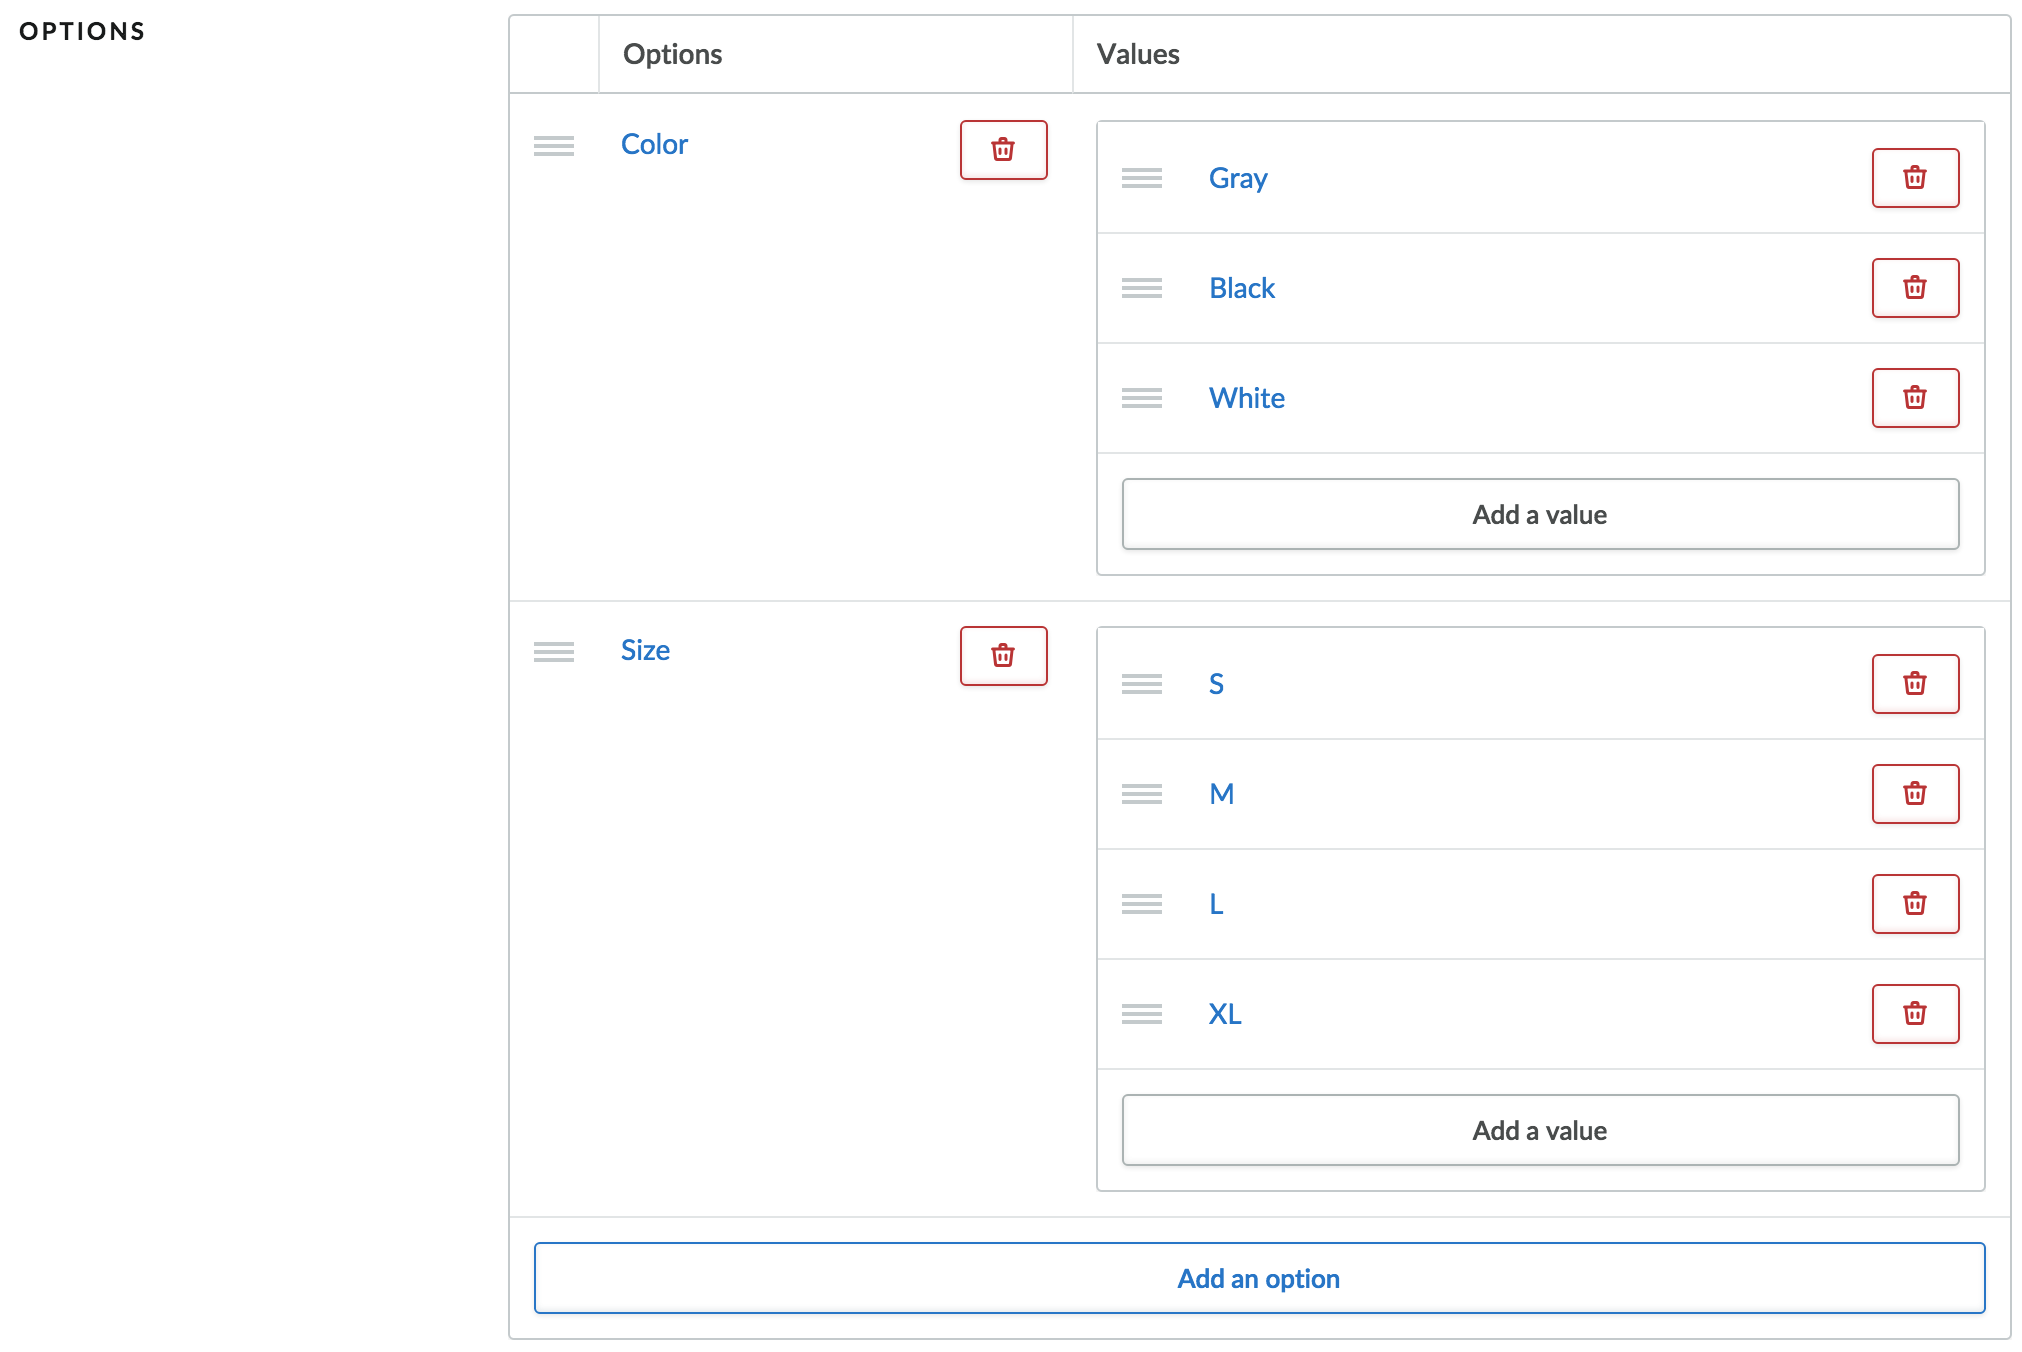
- Add options to the set, for example color and size. Click Add an option and enter the options you want to create.
- Add values to the set, such as sizes. Click Add a value and enter a value for a product option, such as S for small, M, L and OS (one size).

Attaching a product set
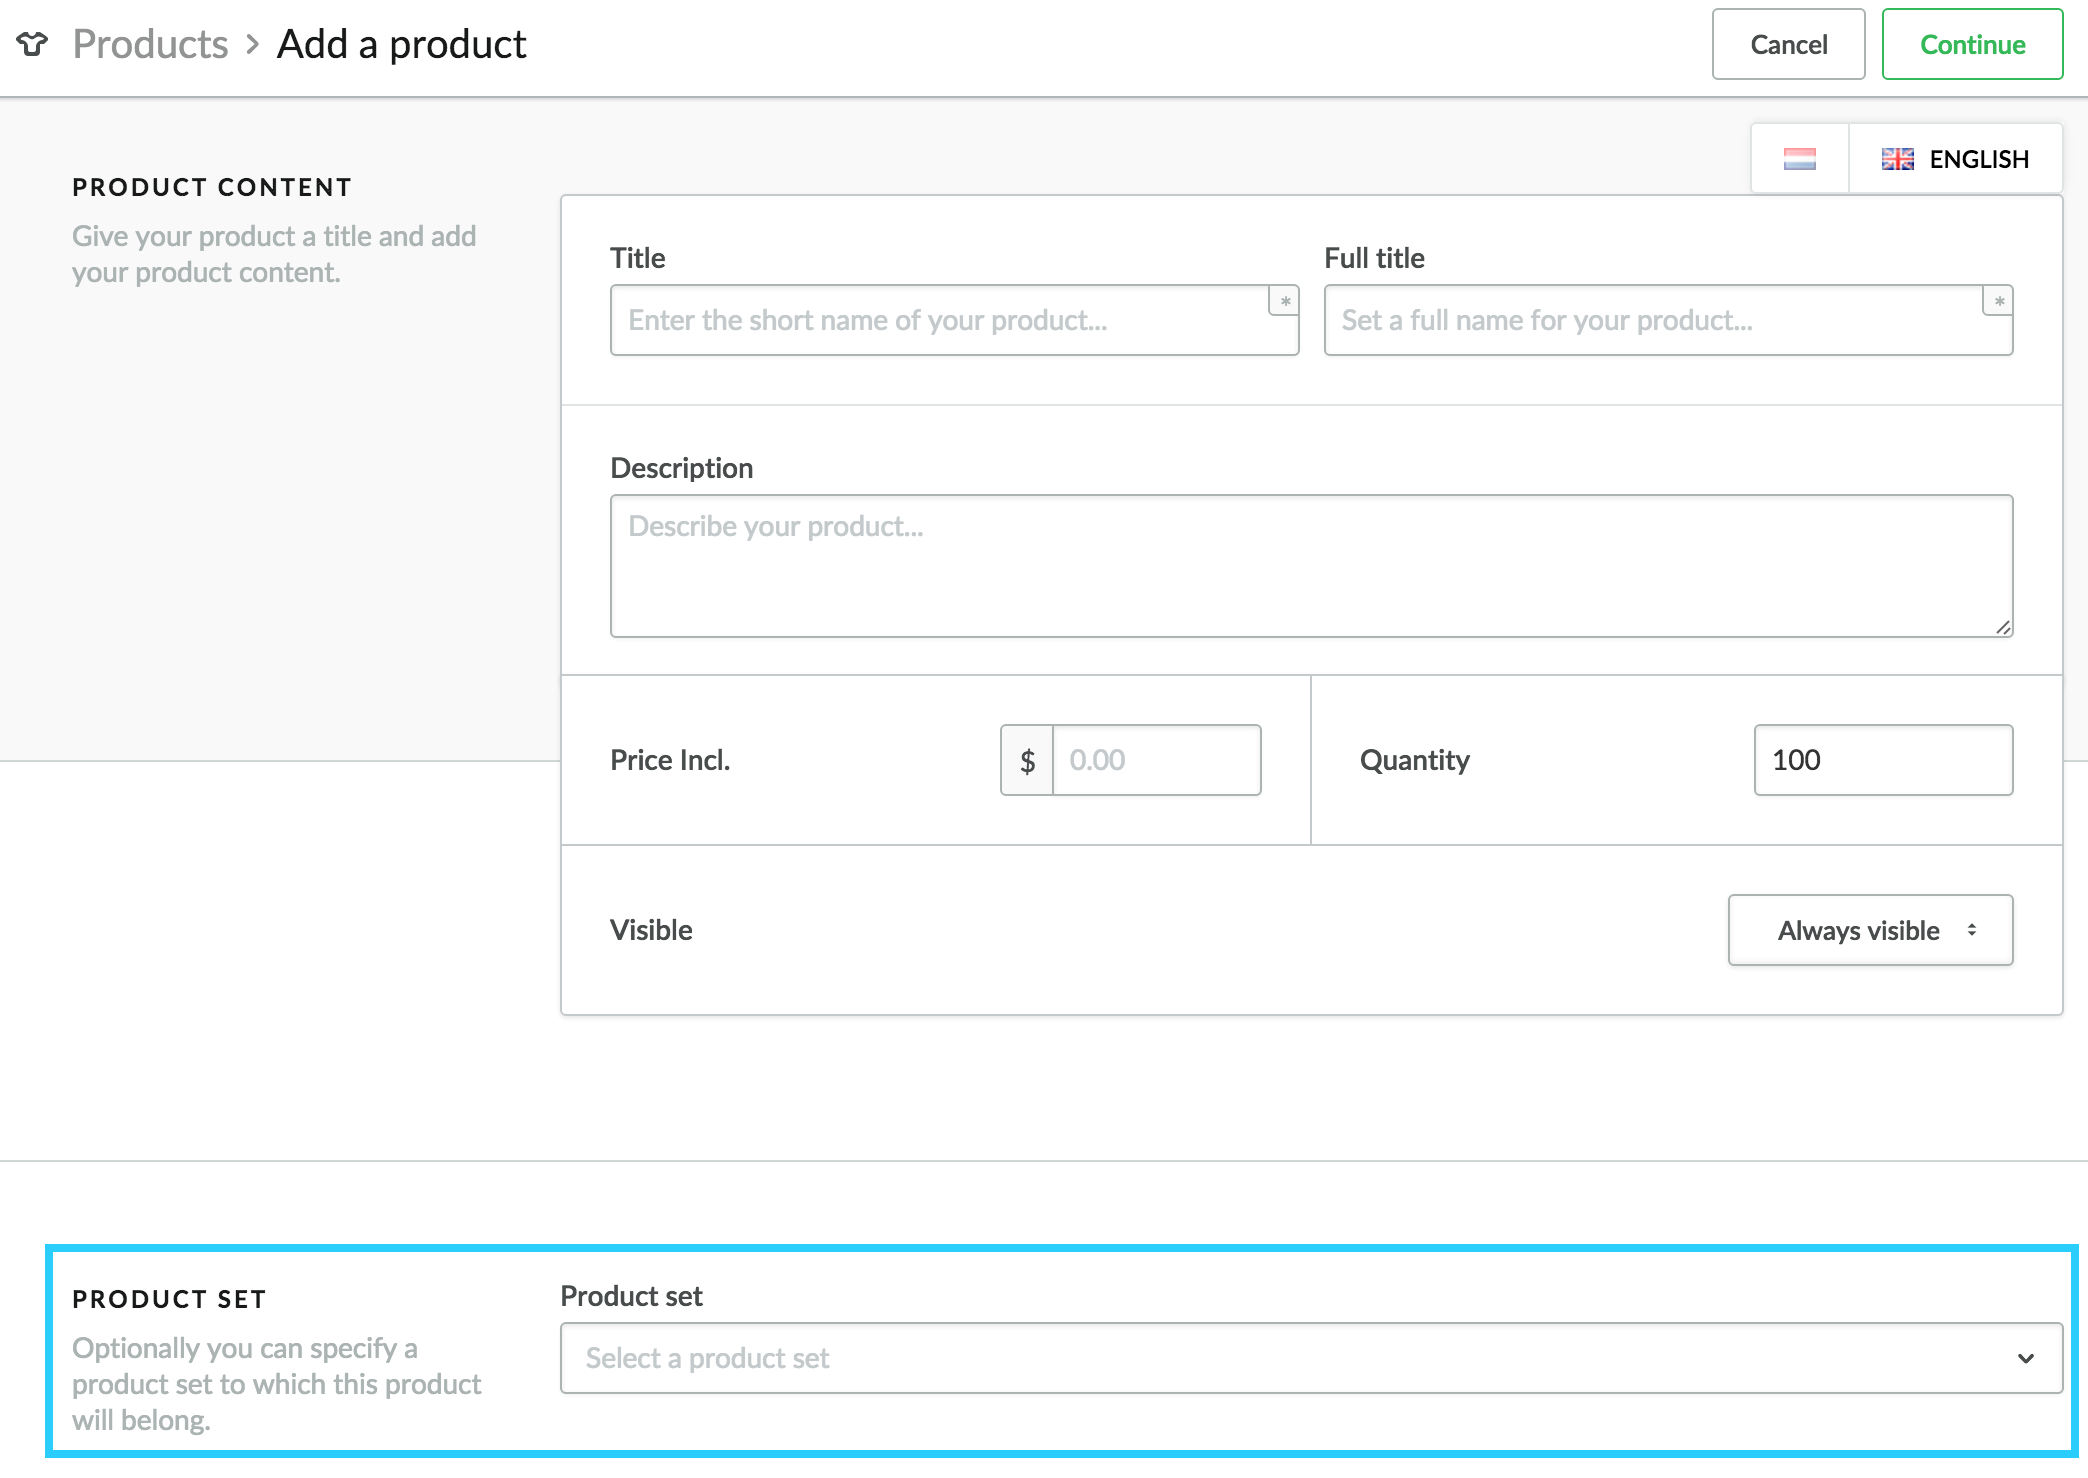
When you create a new product, you can assign a product set to it during the creation process. Simply select the relevant product set from the Product set drop-down in the PRODUCT SET area.

You can also attach a product set to an existing product.
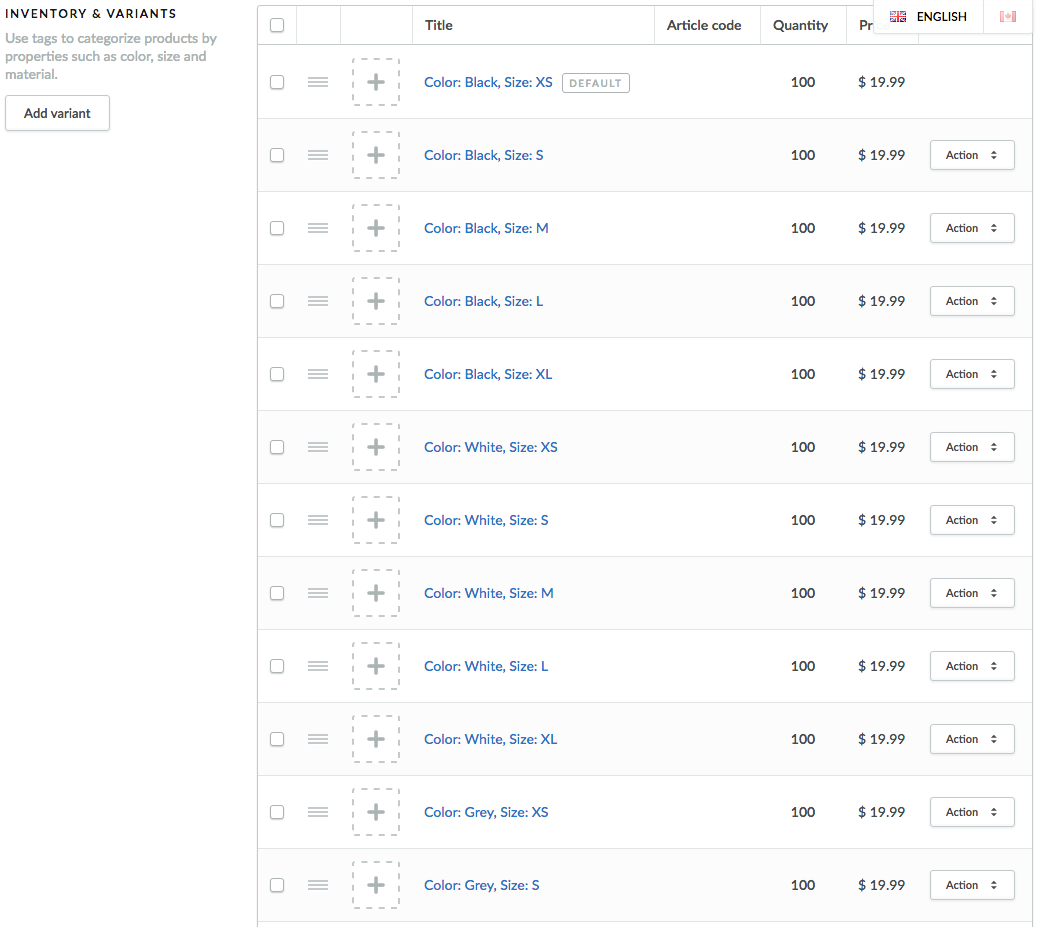
NOTE: When you attach a product set to an existing product, all variants that you previously created for the product under INVENTORY & VARIANTS (including the default) are overwritten by the variants of the product set you attach. You may need to reconfigure some of the data for the variants, such as price and stock.
- On the left menu of the Back Office go to Products and choose the product you want to work with.
- Scroll down to the PRODUCT SET area, and select the product set you want to assign to the product from the Product set drop-down.
- Save your changes. The Inventory and Variants section refreshes to display the variants for the product set.
